
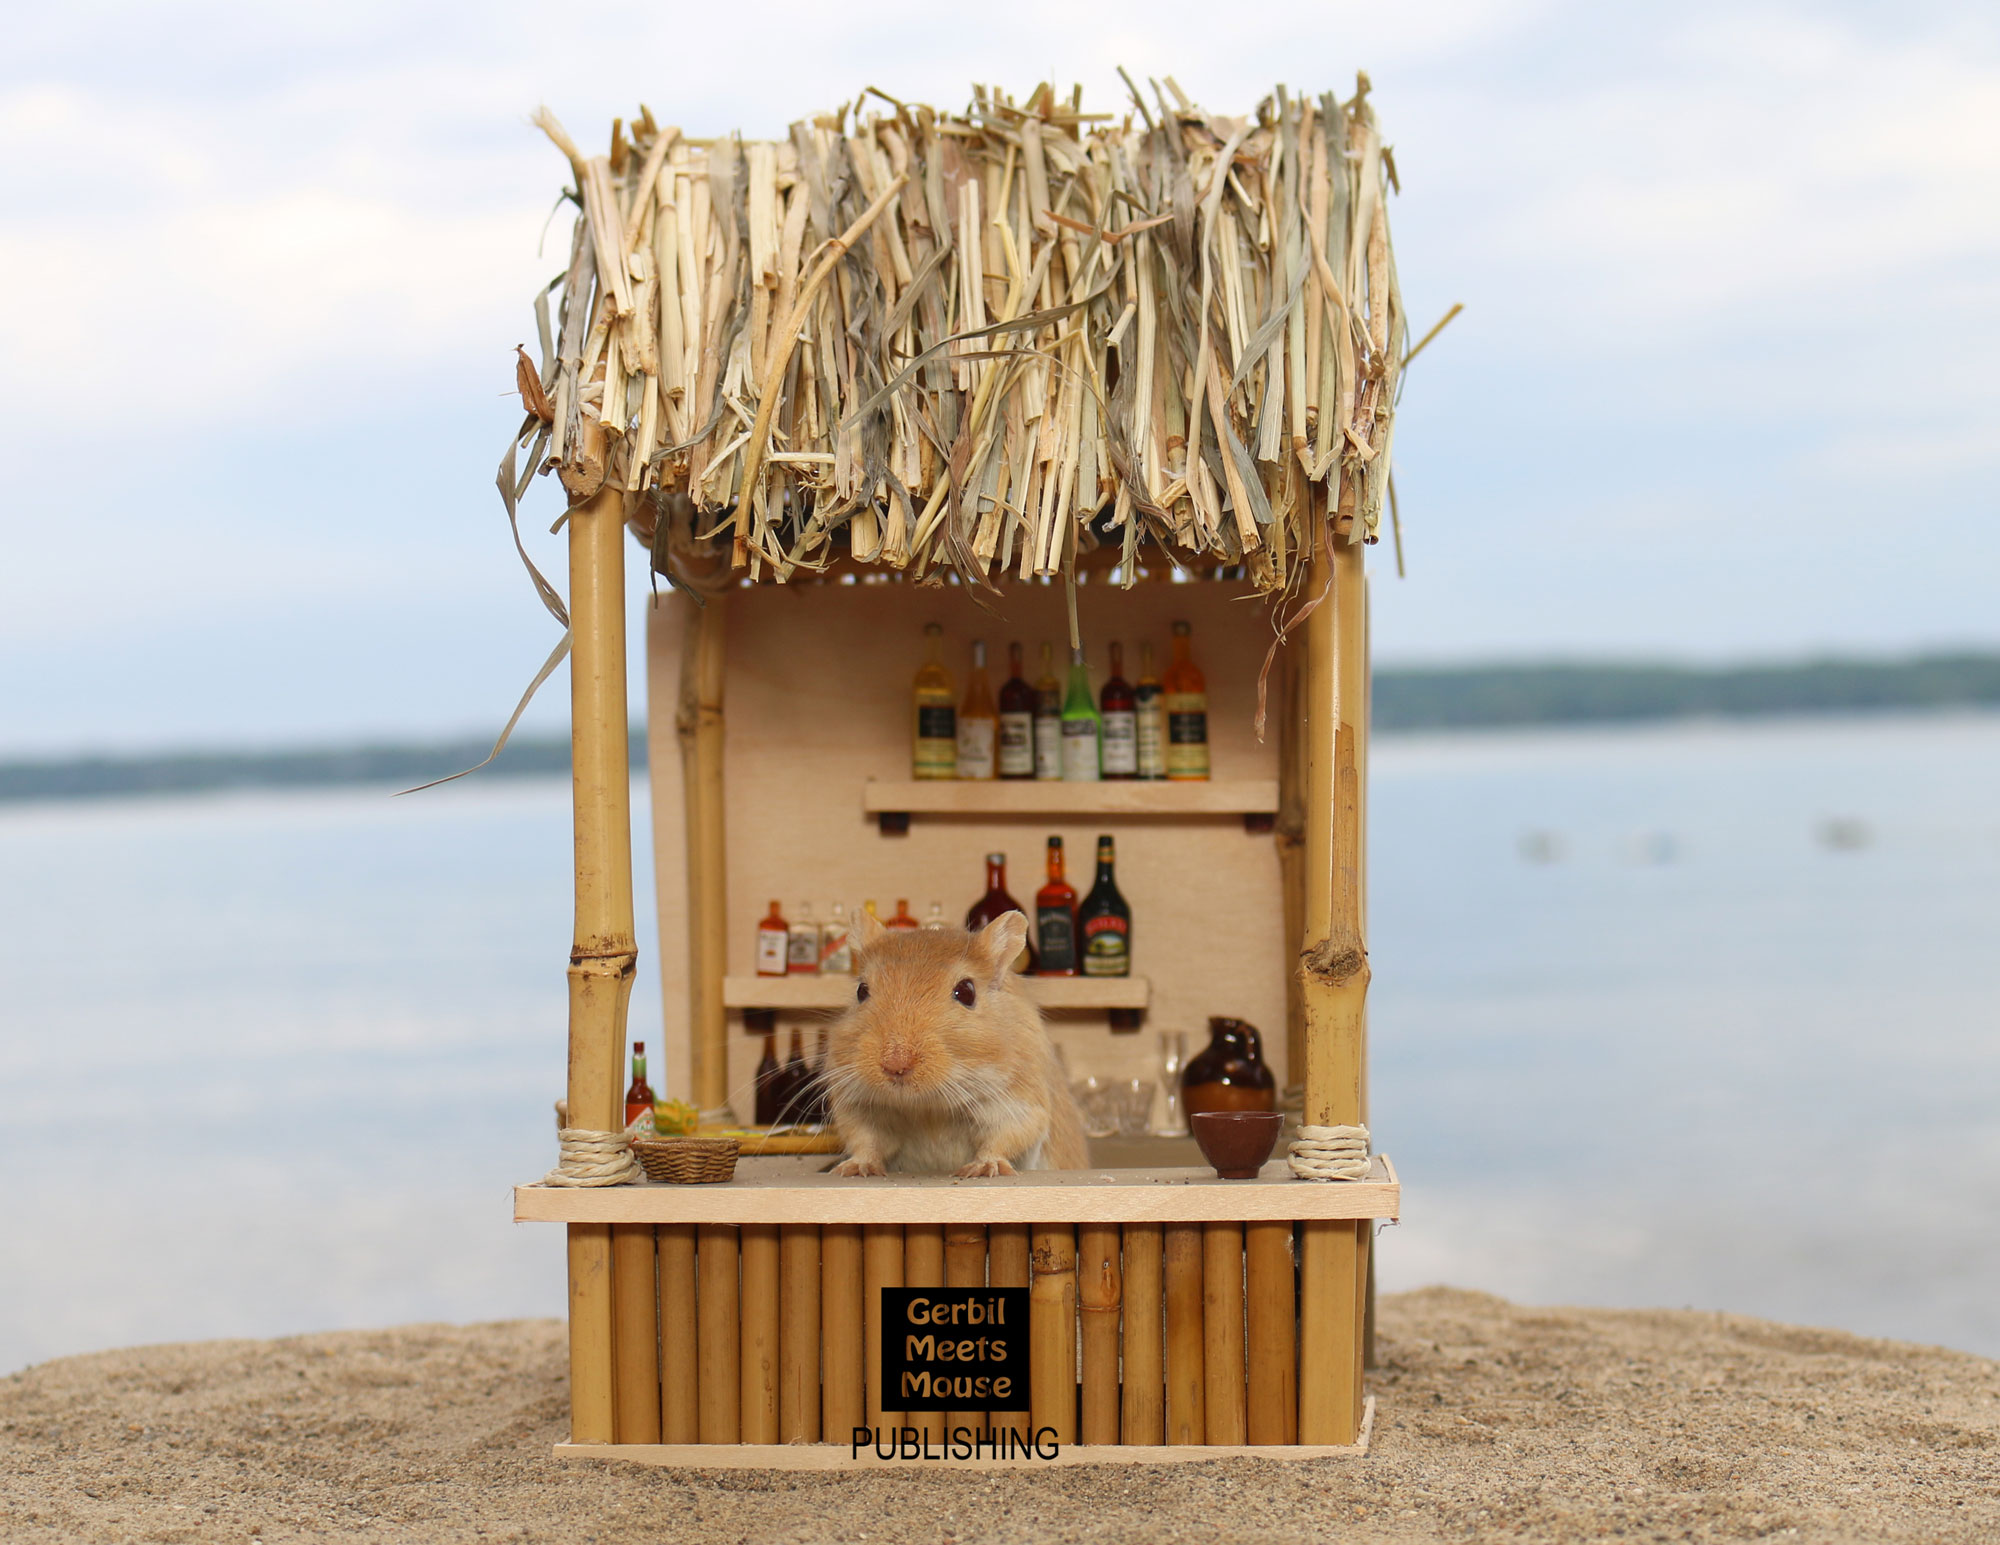
 Almost a year after this photo was taken, I thought it might be fun to show you the entire process as to how it came to be. It’s definitely one of my favorite photos that I have taken in the last five years, and I thought it might be interesting to see how many steps actually go into producing one photograph!
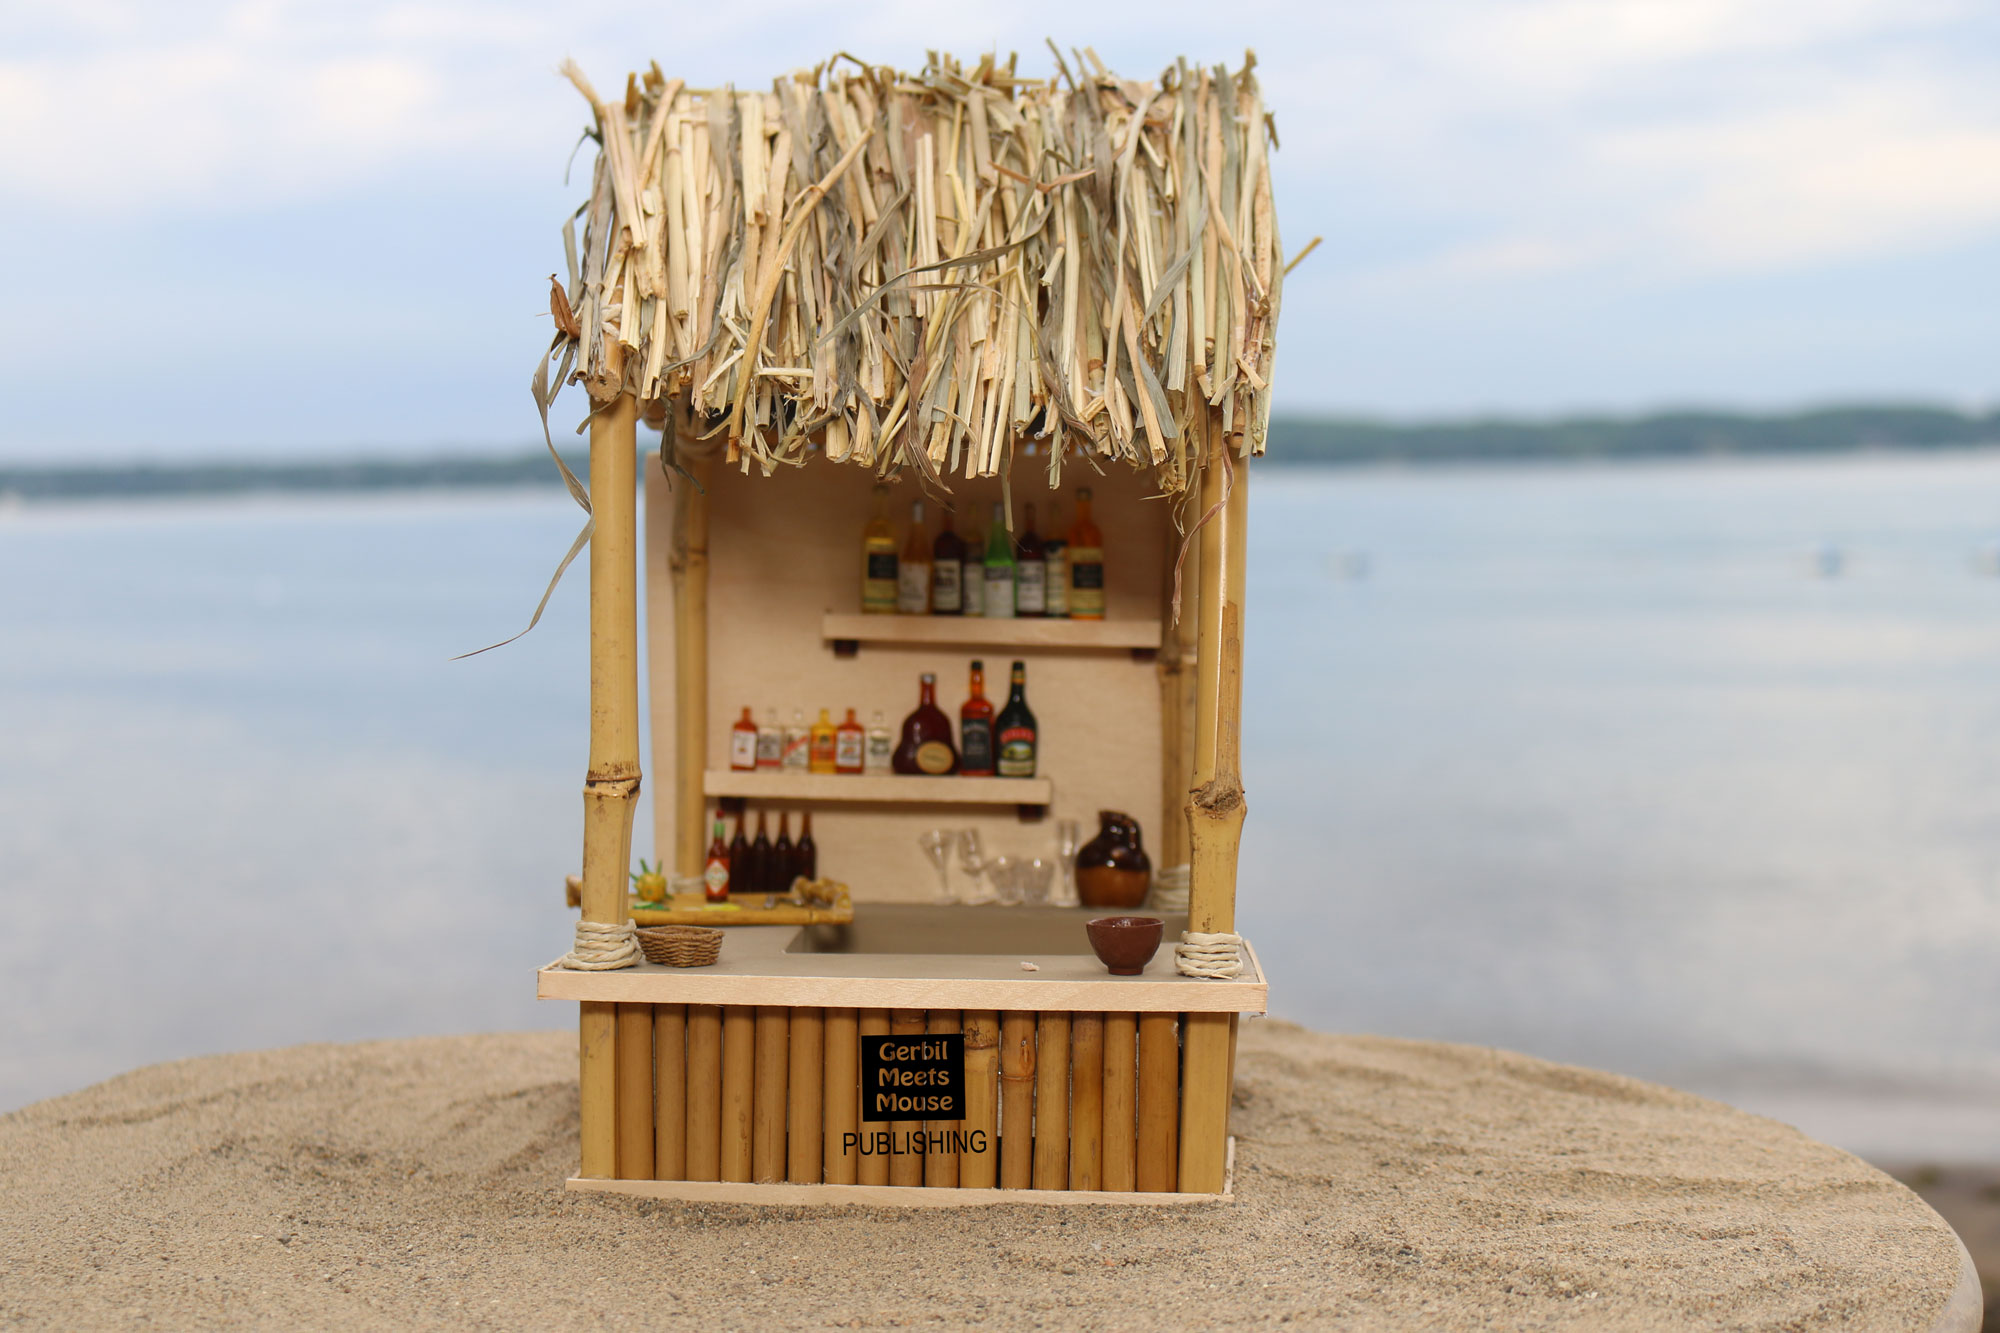
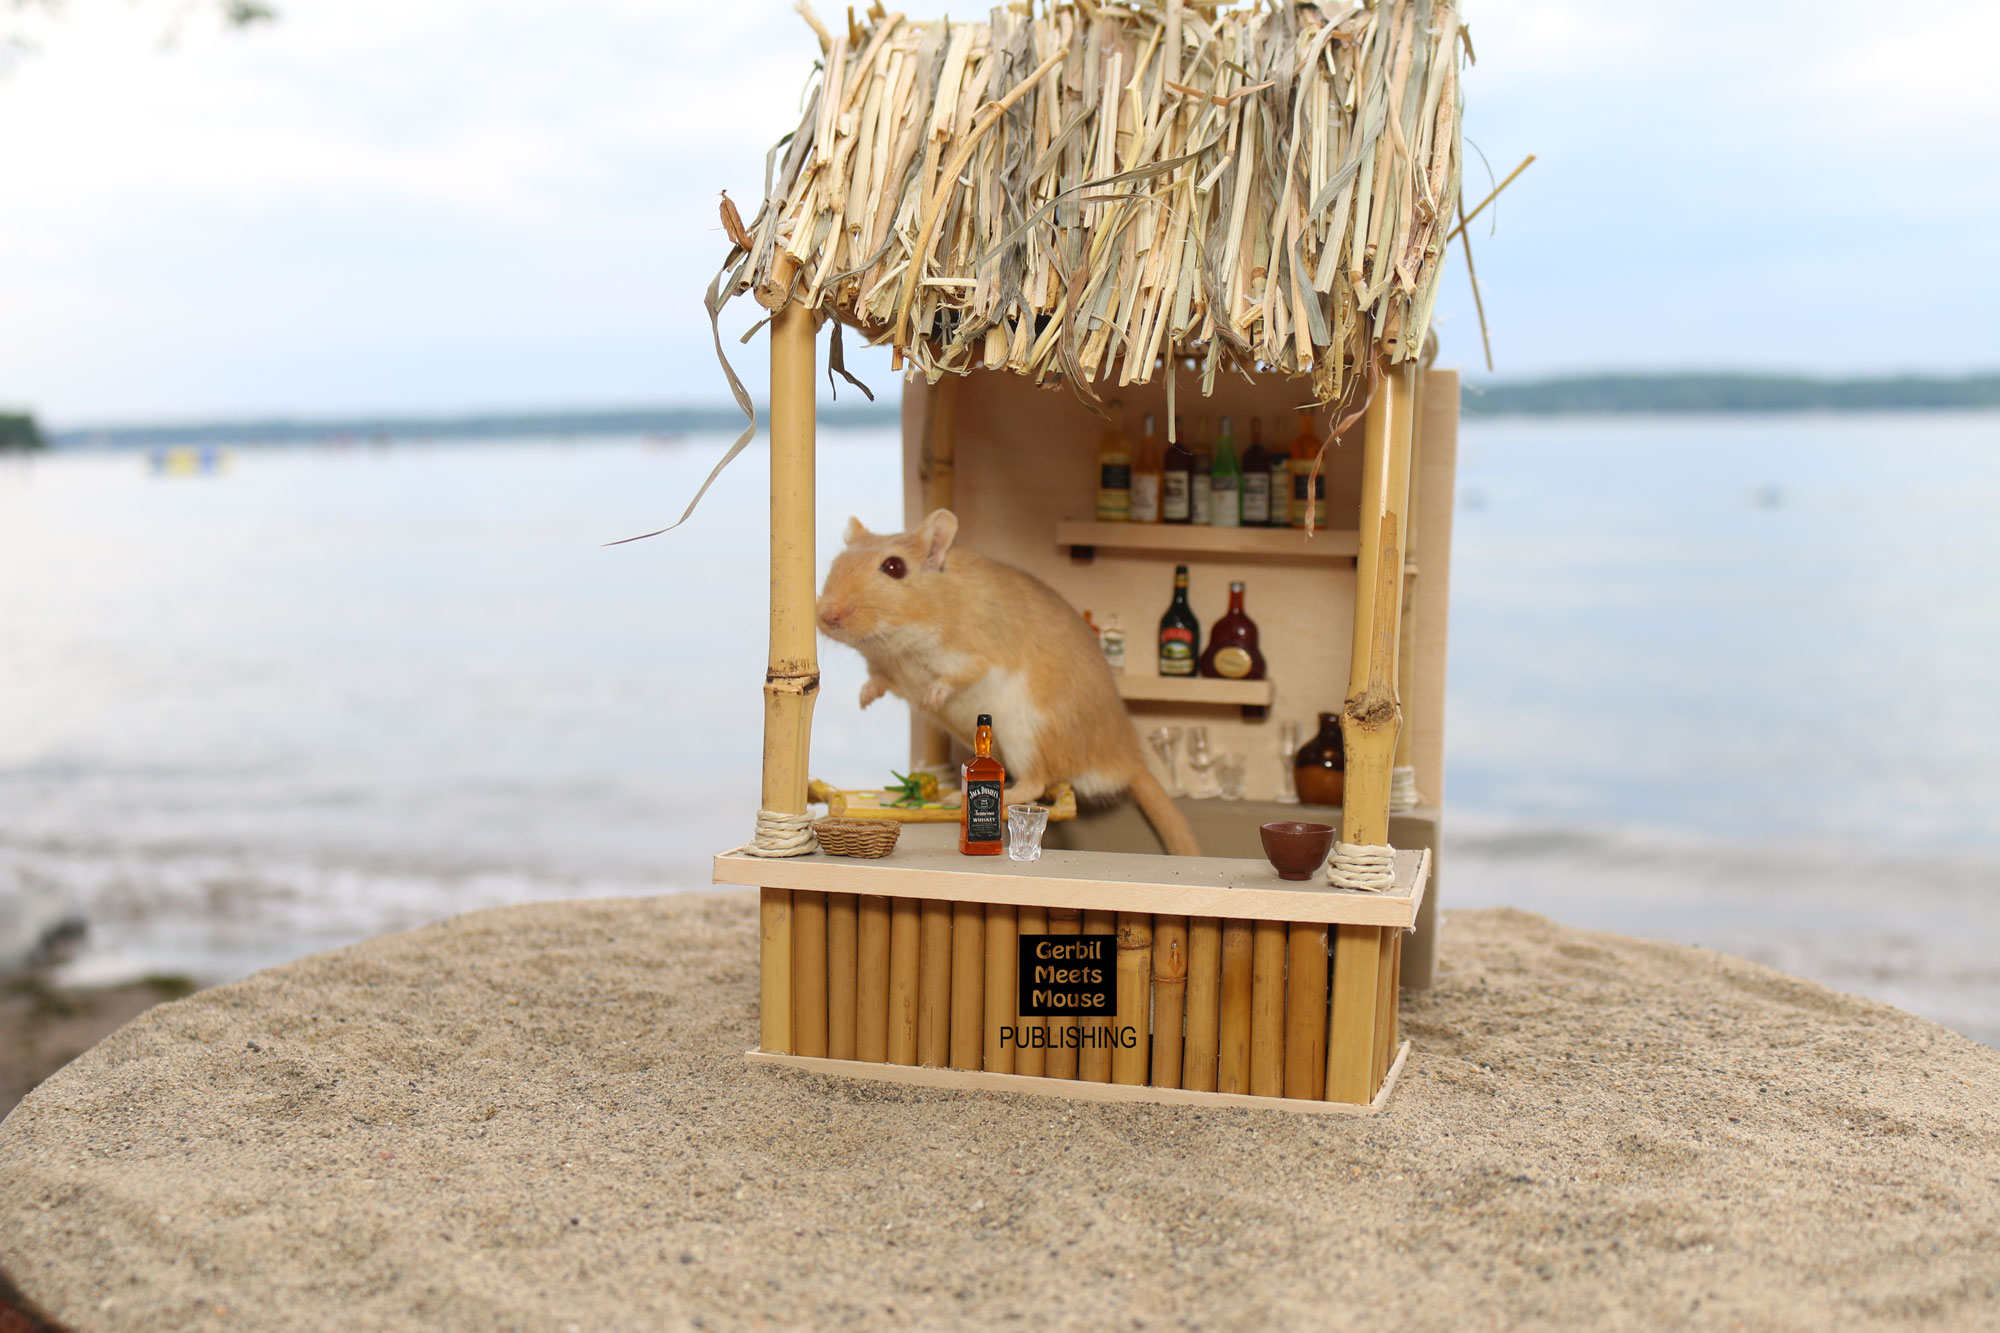
I have posted variations of this photo on social media, but it also appears in October of our 2017 Calendar.
The Inspiration
Some of my miniature scenes/rooms begin with a miniature object so amazing that it deserves to have an entire room built around it. This was the case with the miniature Tiki Bar… which began with a miniature bottle of Bailey’s Irish Cream. One of those miniatures I just had to have because… well… it had my name on it!
I had owned the miniature bottle of Bailey’s Irish Cream for about a year before it finally hit me. Sometimes that’s how it happens… an idea just hits you. And suddenly I was dreaming of miniature tiki bars, and Melvin at the beach.
The Starting Point
I started by doing some research and drawings… trying to capture what I envisioned. Usually this consists of printing out a few pictures on the internet of real items/rooms, and then taking bits and pieces from how they were made in real to re-create the vision in miniature. Then, I cut out pieces of paper to represent each piece so that I can piece it all together before I actually start cutting wood. I don’t actually have any pictures of this particular process, unfortunately.
The next step was to source materials, I knew I wanted bamboo and as it happened, there were some people giving away a bunch of bamboo sticks on my local buy/sell site.
Once I have all of my materials in place, the drawings set… I’m ready to begin!
 Step Two

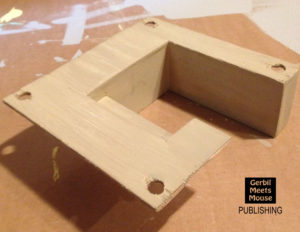
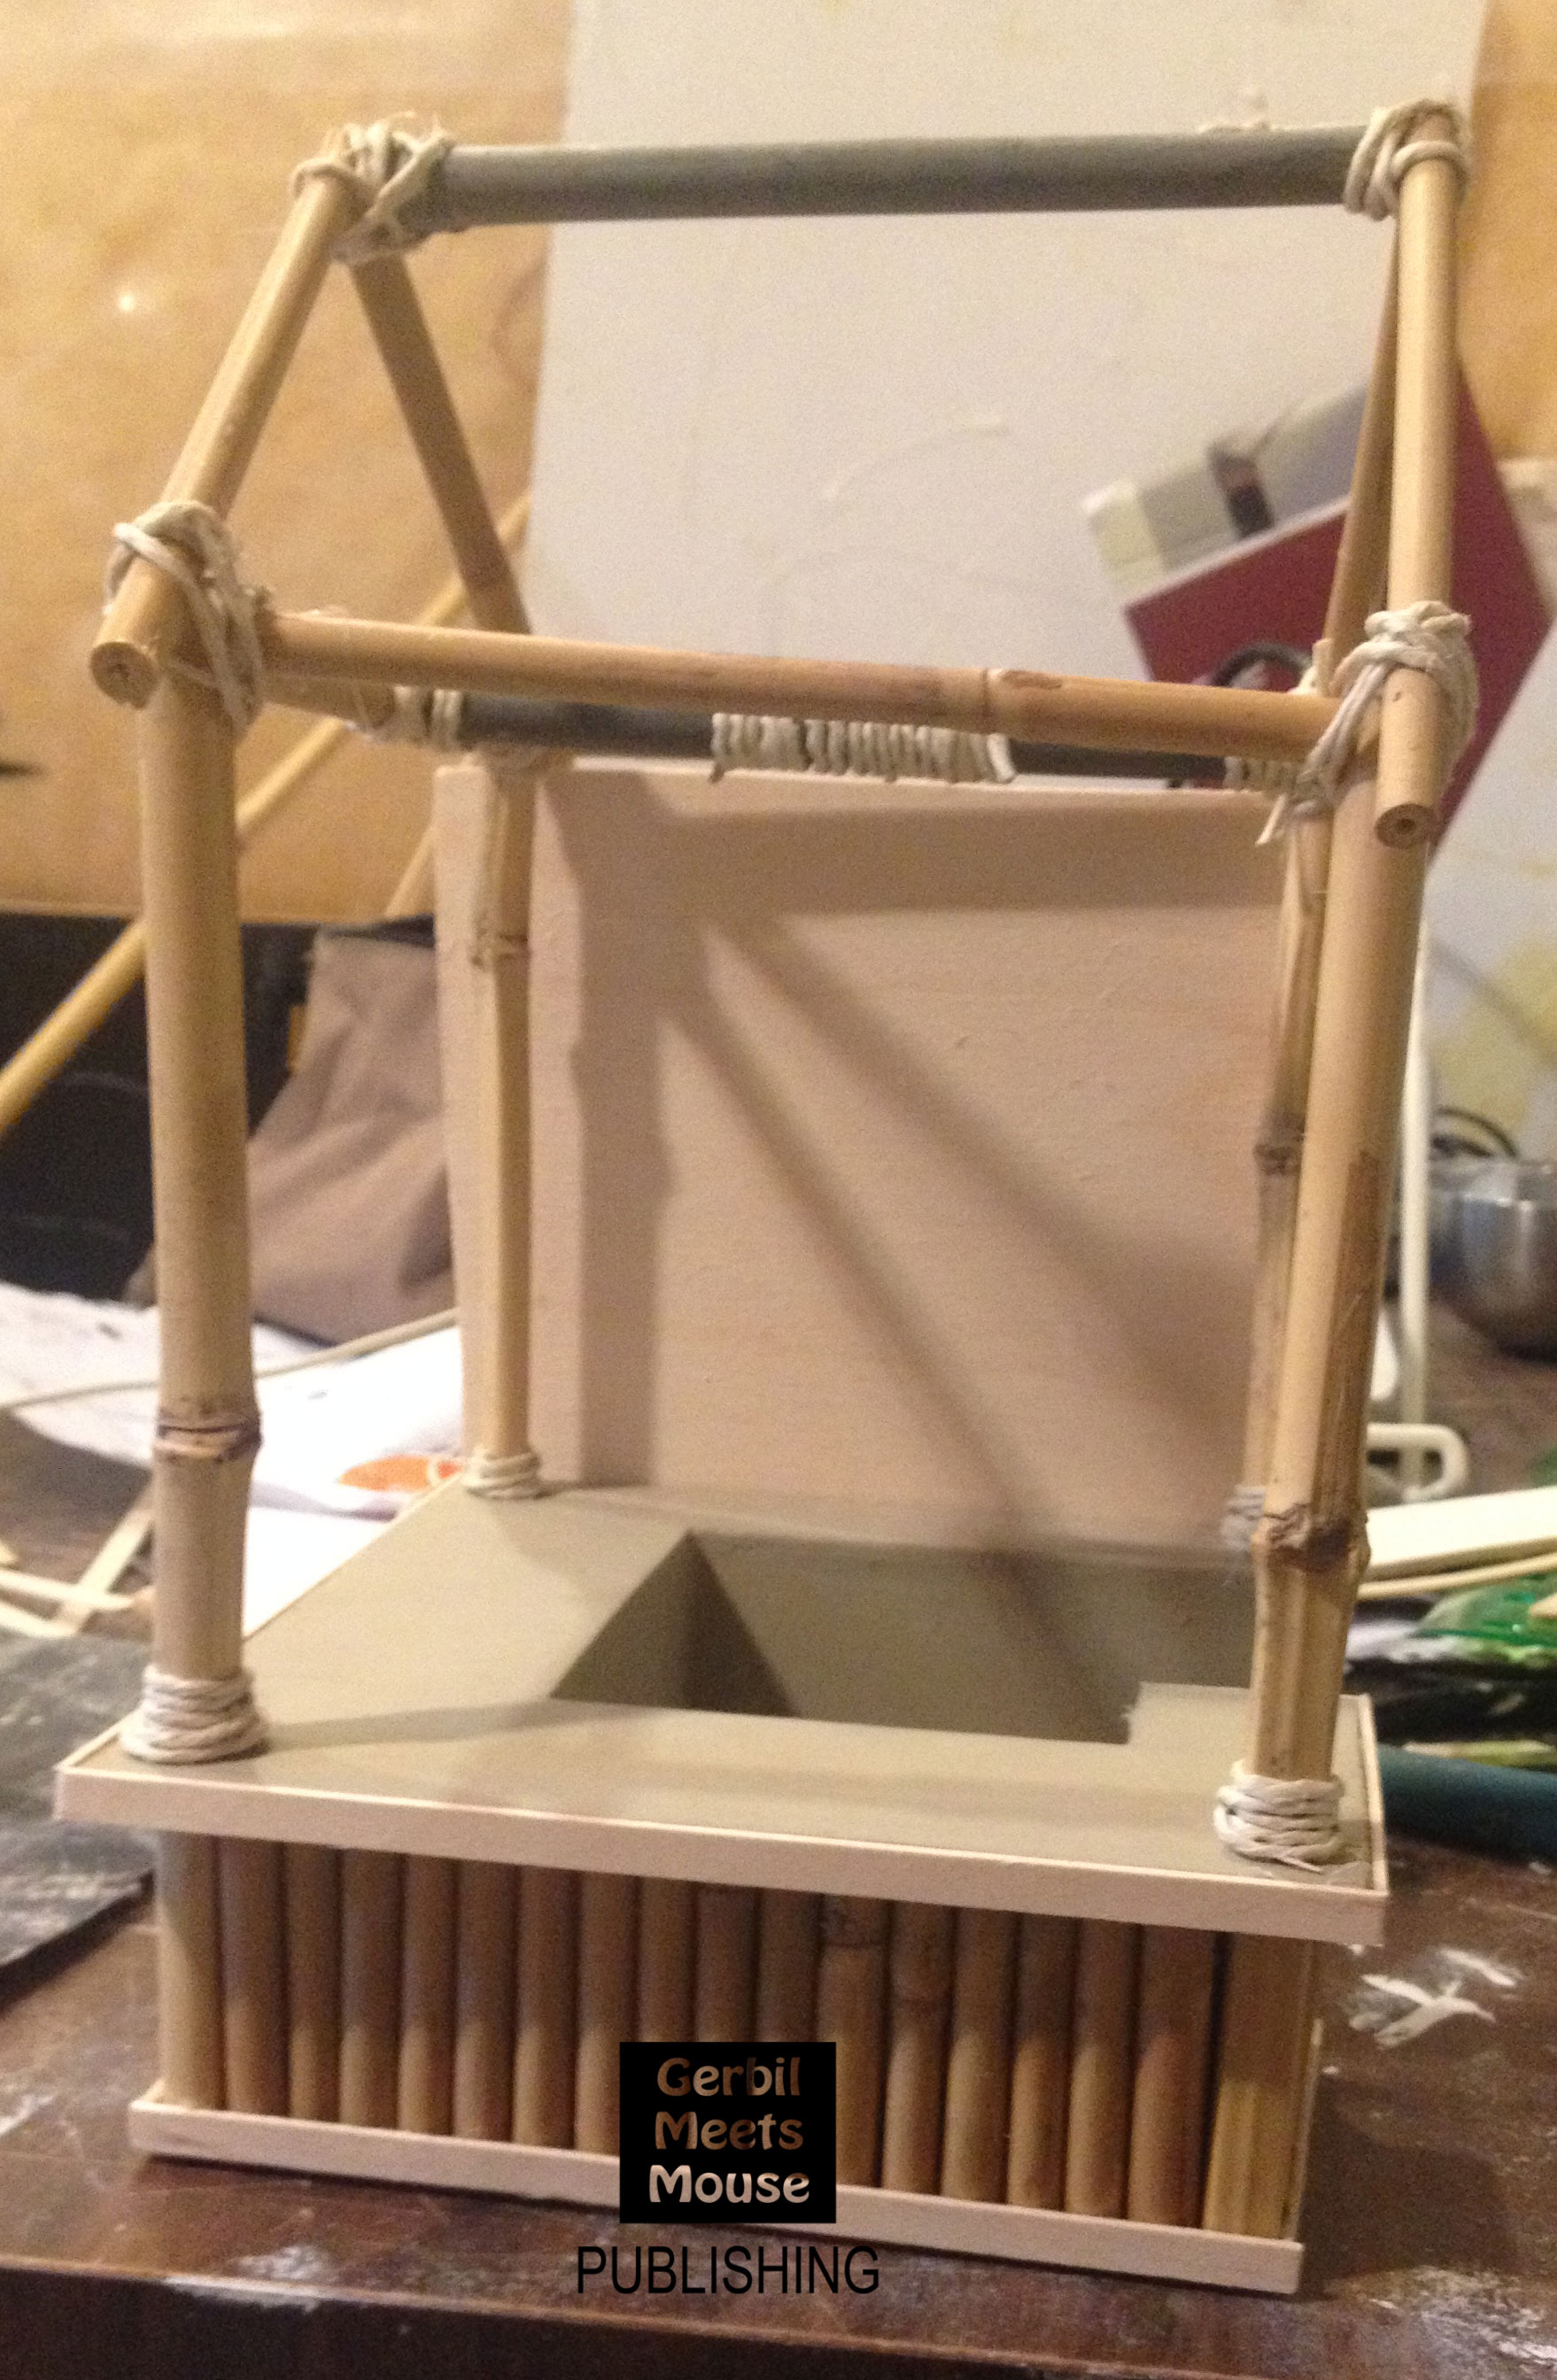
Cutting the base was actually pretty easy because I had already created the look with paper. I knew the size I wanted, and all that needed to be done was cut the wood to size. I actually used some spare pieces from a dollhouse kit that hadn’t been used on the dollhouse. The wood was glued together with a mixture of wood and hot glue, and then wood filler was used to smooth the wood and fill any inconsistencies or cracks. I also drilled holes where I imaged the largest bamboo sticks (which would hold up the roof) would go.
PAUSE! I ended up leaving it like this as we ended up going on vacation for two weeks. As much as I dislike leaving projects unfinished, the weeks gave me extra time to think about what I wanted, and how I would built it… it also gave me a reason to look forward to coming home!
Getting Back to It
 Almost as soon as I got home, the base was painted. Sanded. Re-painted until I achieved a smooth enough finish.
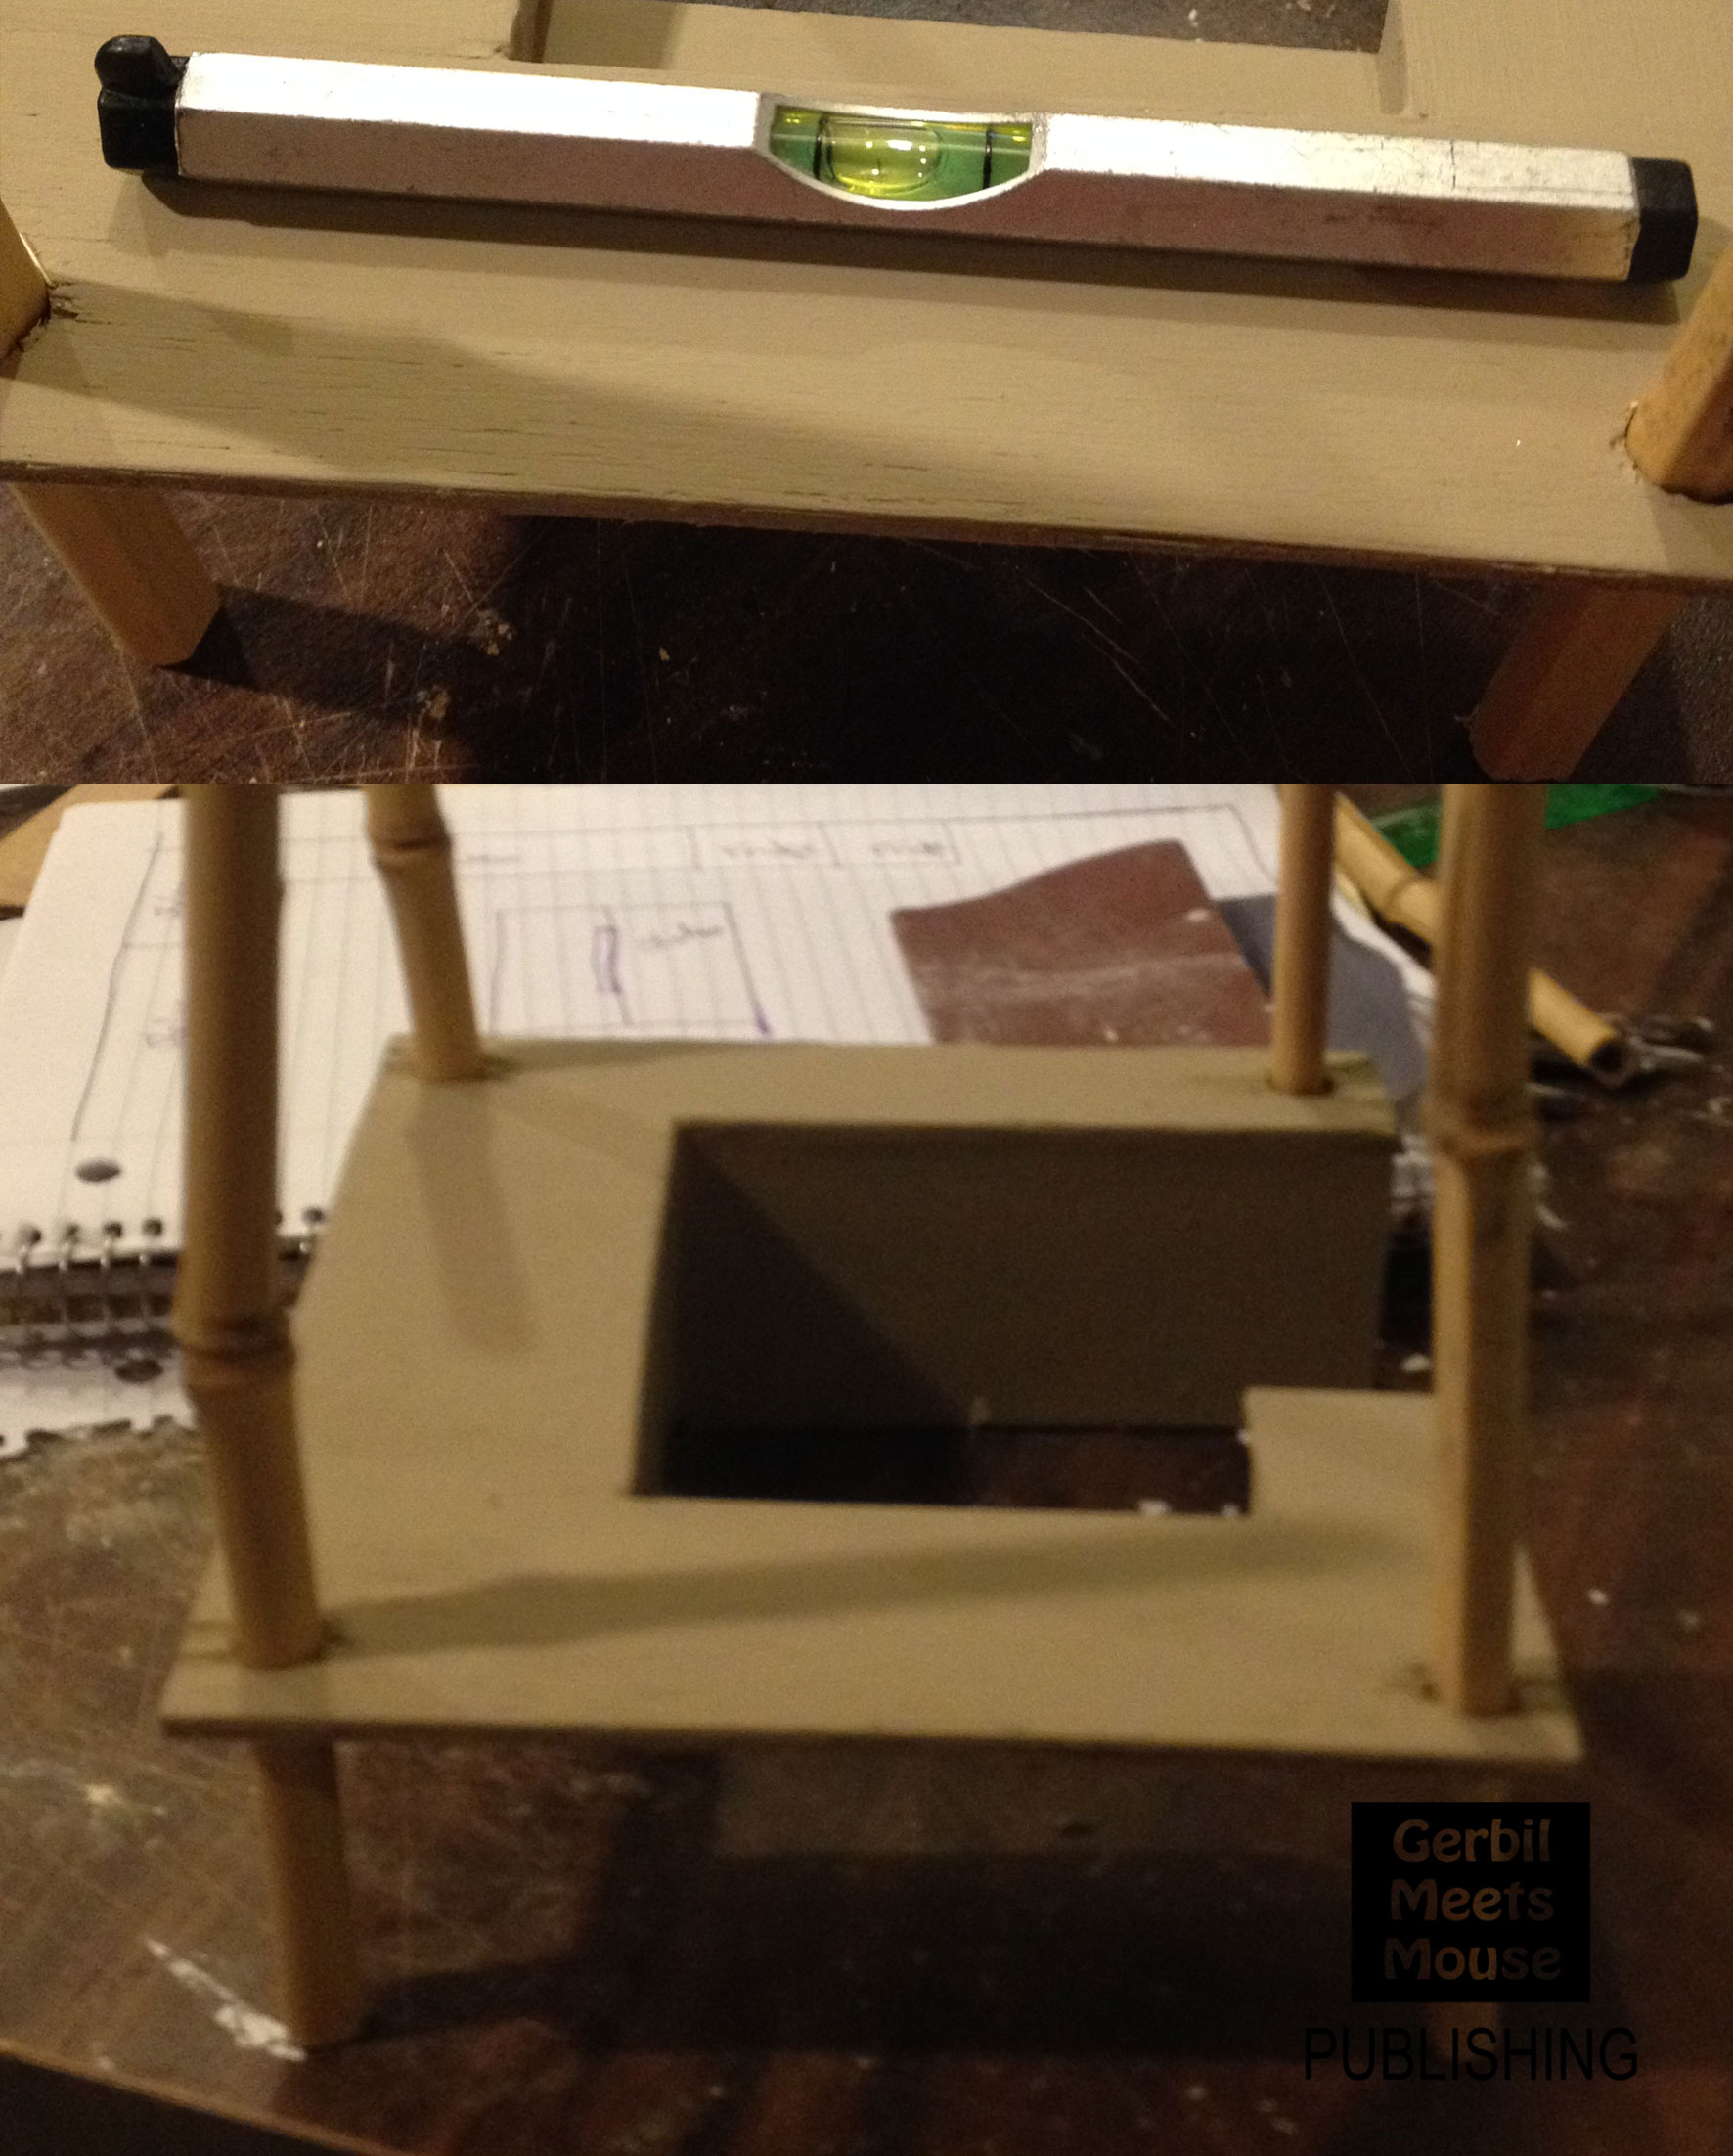
The next process was done overnight. I don’t know about you, but I’m the type of person that gets the best creative ideas after the rest of the world has fallen asleep. Step one was to add the main 4 poles that would level the entire piece, and keep everything together. Once it was level, the pieces were glued underneath to ensure they stayed in place for the rest of the process.
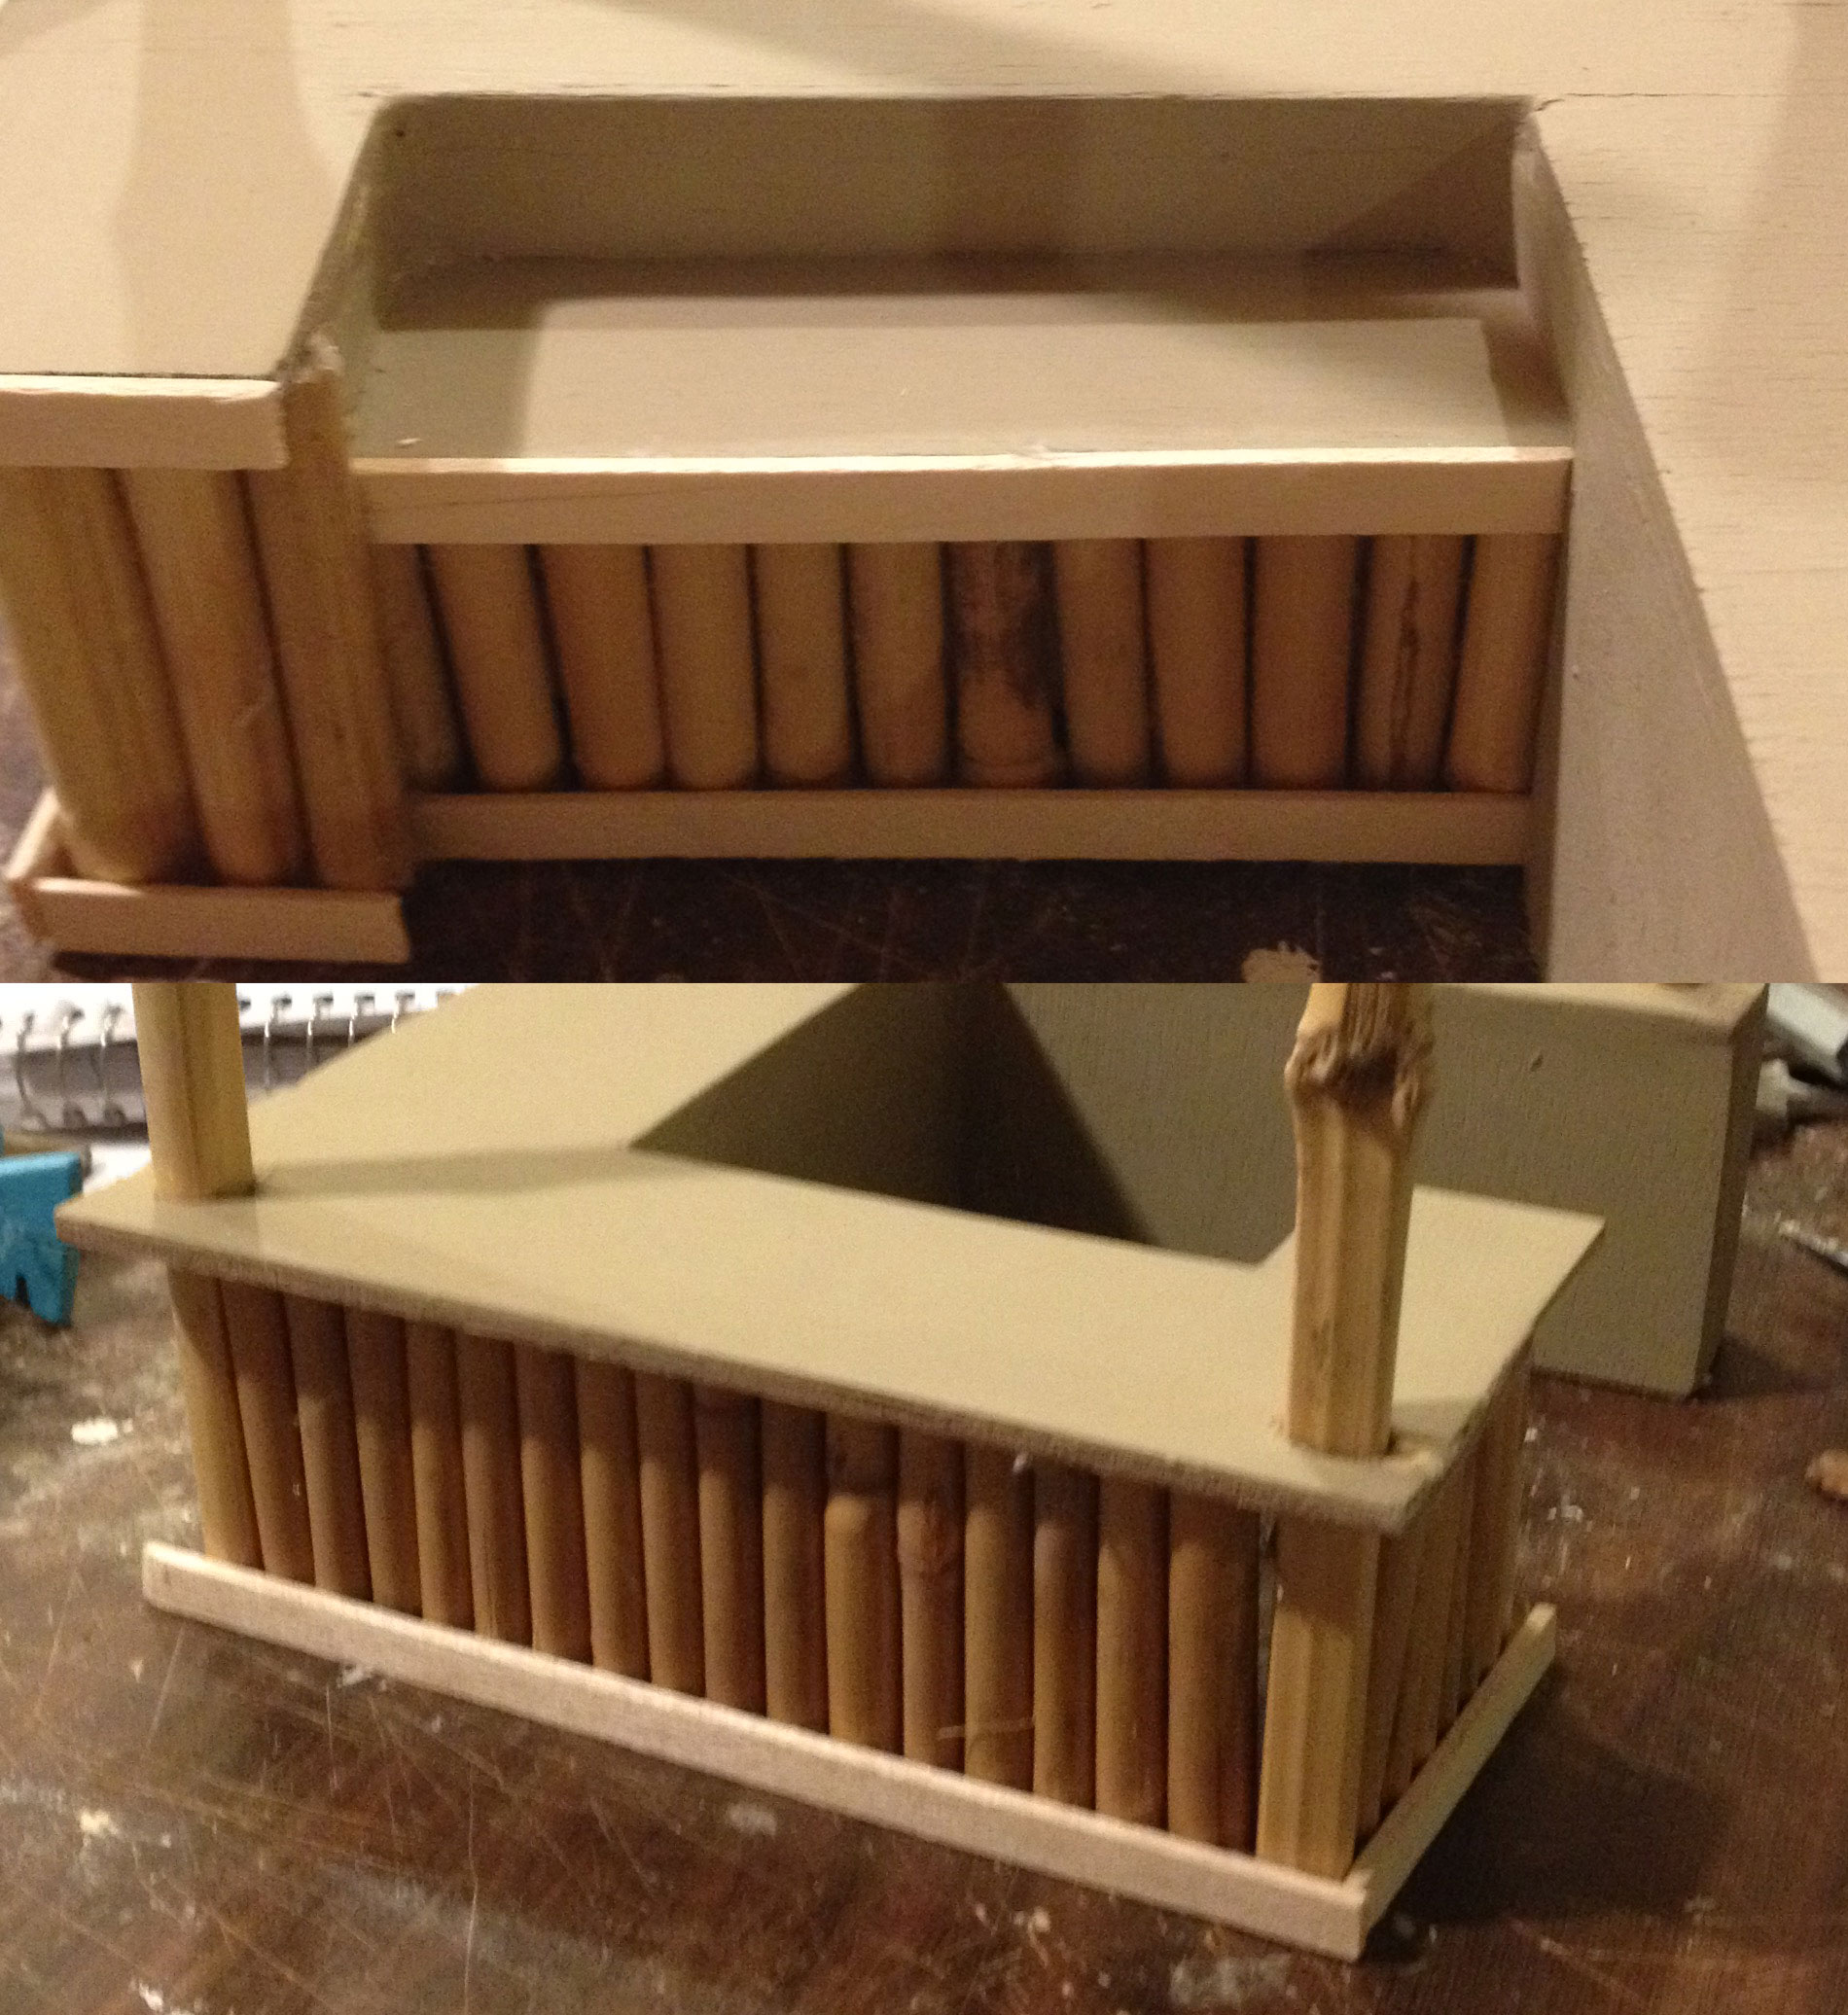
The next step was to cut all of the front, side and back bamboo pieces to the exact same size, and glue them under the counter. Once they were glued on, I added a large piece of wood behind them to hold them all in place, as well as trim at the very bottom to hide inconsistencies and splinters.
Finally, I added the roof shape. This was more difficult than it seemed. I ended up using hot glue to make sure everything was stuck and then wrapped hemp around to hide the glue. I actually like the way it looked.
This is also where I added the piece of wood at the back, which is where the shelves wound up.
The Roof
I was able to get some hay from a neighbor. Would you believe it if I told you that each strip of hay was individually placed and glued one-by-one. At the end, I cut the bottoms so they were all imperfectly the same length. This process took over three hours (four episodes of Criminal Minds).
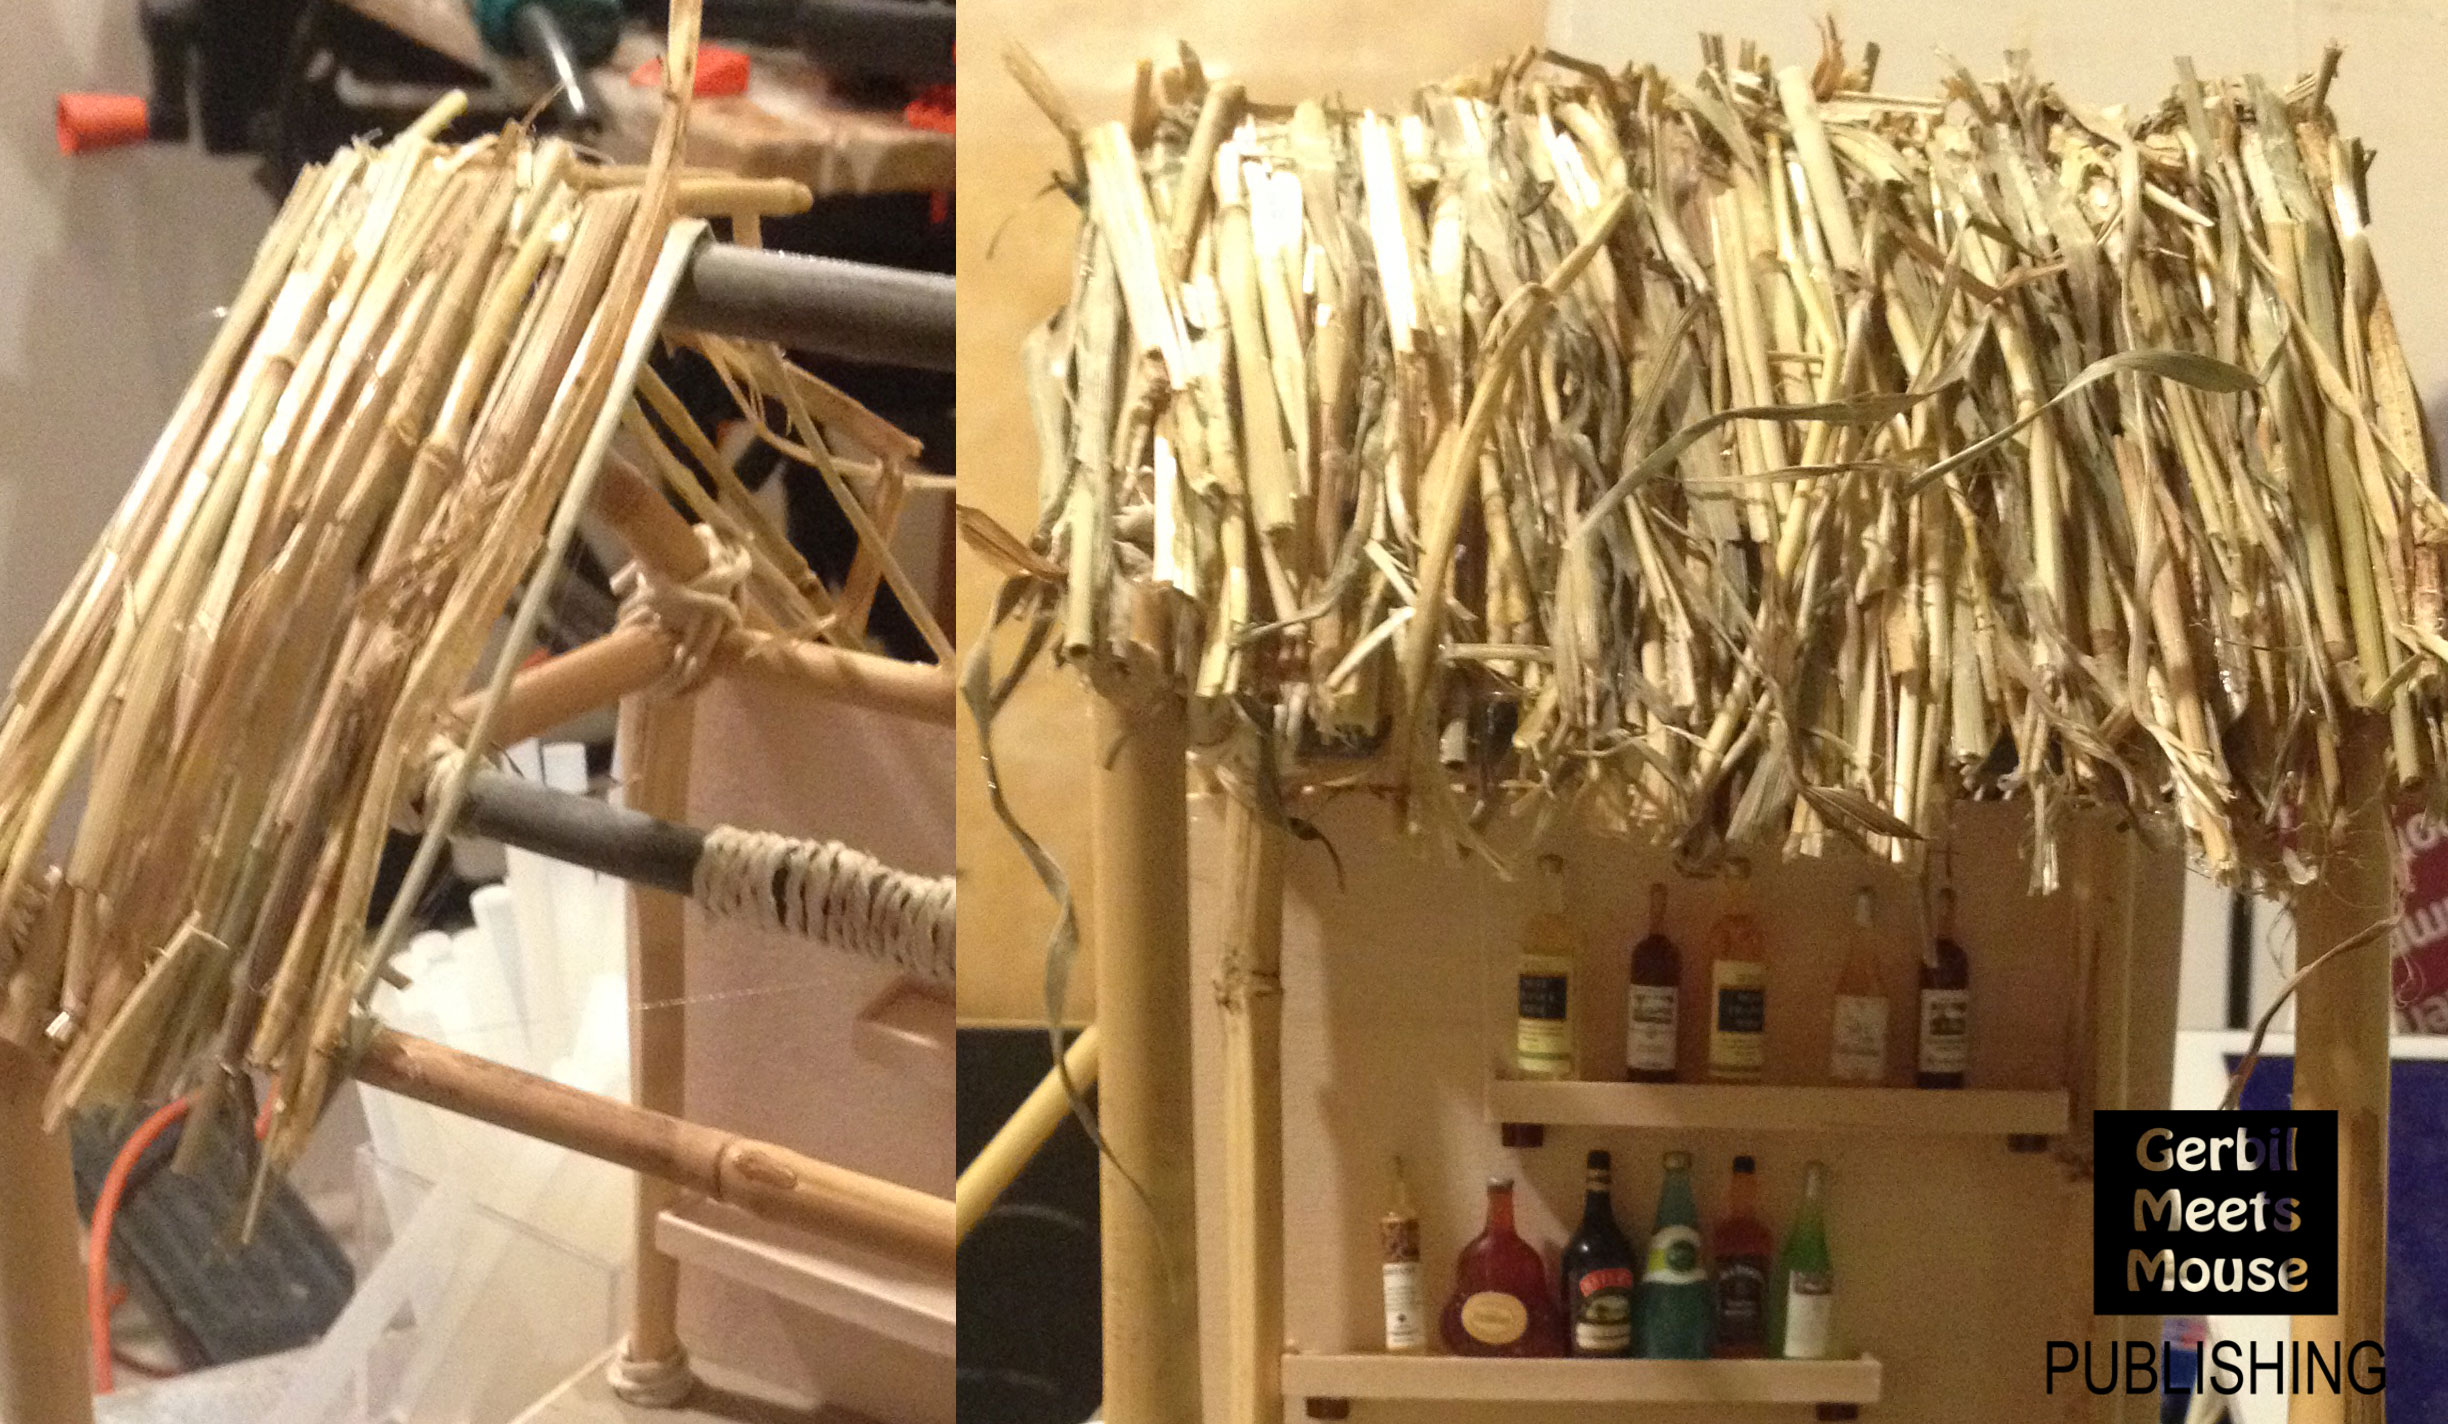
I couldn’t resist putting some bottles up there to see what it would look like when the roof was finally done! There’s that Bailey’s Irish Cream bottle that inspired the whole thing!
Time to Photograph
The next part was exciting. As soon as the tiki bar was finished, I knew I wanted the photograph to be taken on a beach somewhere. It would be the first time I had ever photographed “on location” with a gerbil.
On the day of the photograph, my boyfriend and I set out to the local beach with Melvin in his travel carrier, the tiki bar, an old end table, some sanitized sand, treats, a box of miniatures to decorate the tiki bar with, my camera, a tripod and a flash.
The Set-Up
I didn’t want Melvin to be exposed to the beach sand in case of mites, or anything else that could be hiding in there. So we set up an end table, spread out the sanitized sand on it and placed it so that it blended into the lake. It actually worked better than I had expected.
Introducing… Melvin
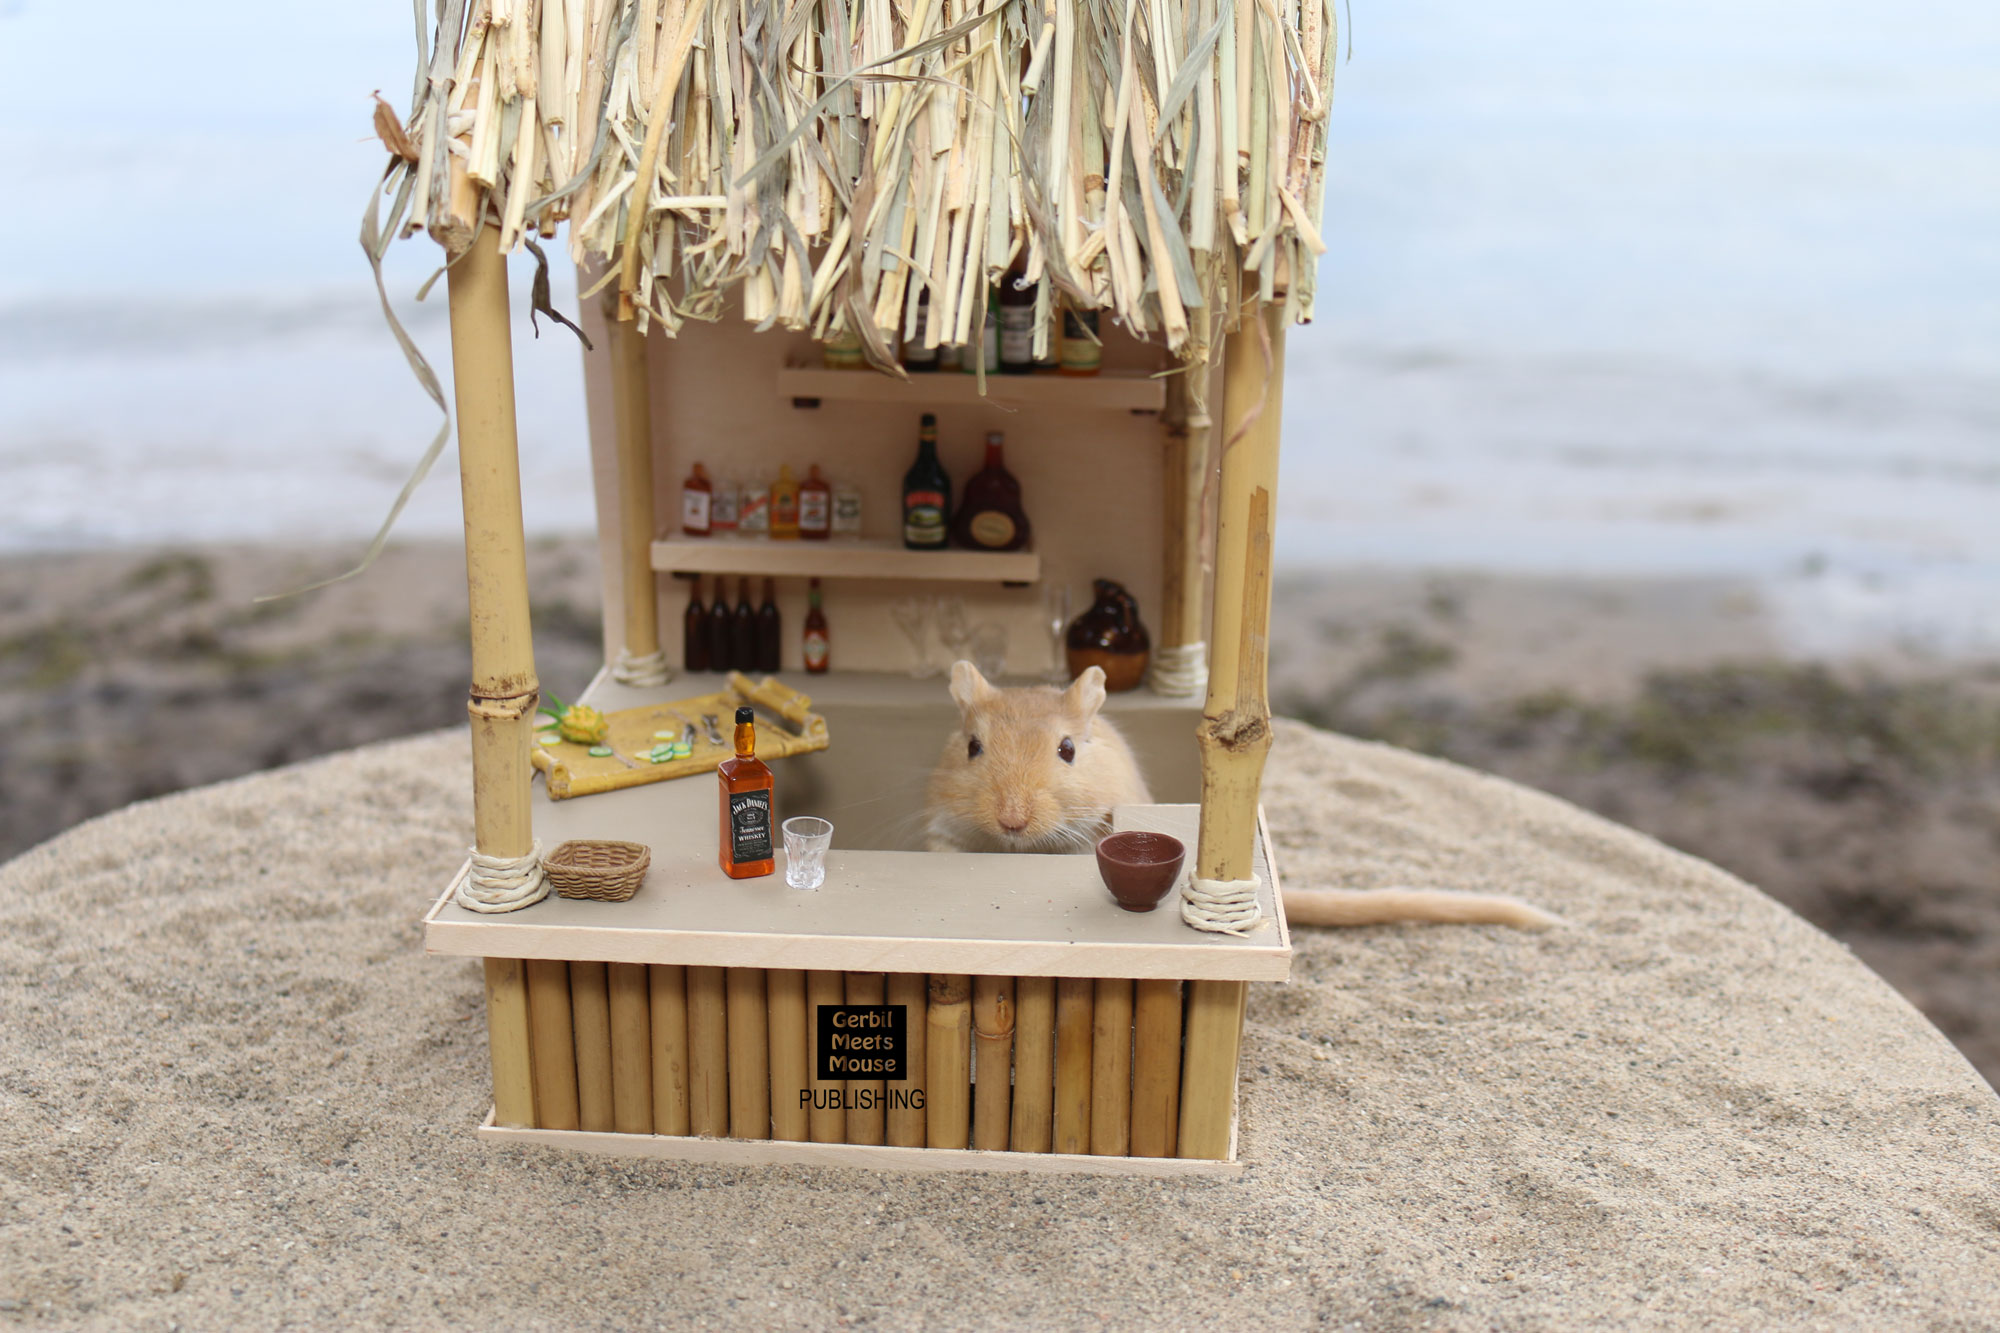
Melvin was AMAZING. We actually got the final photo in under 25 photos (let’s compare that to an average photoshoot which can be up to 550 photos over 4-5 days). My boyfriend sat to the right to help ensure that Melvin didn’t escape and/or nobody’s animal came out of no where to investigate, and also re-direct Melvin to the tiki bar in case he ventured off. Oh, and re-set the miniatures that Melvin’s tail sent flying!!
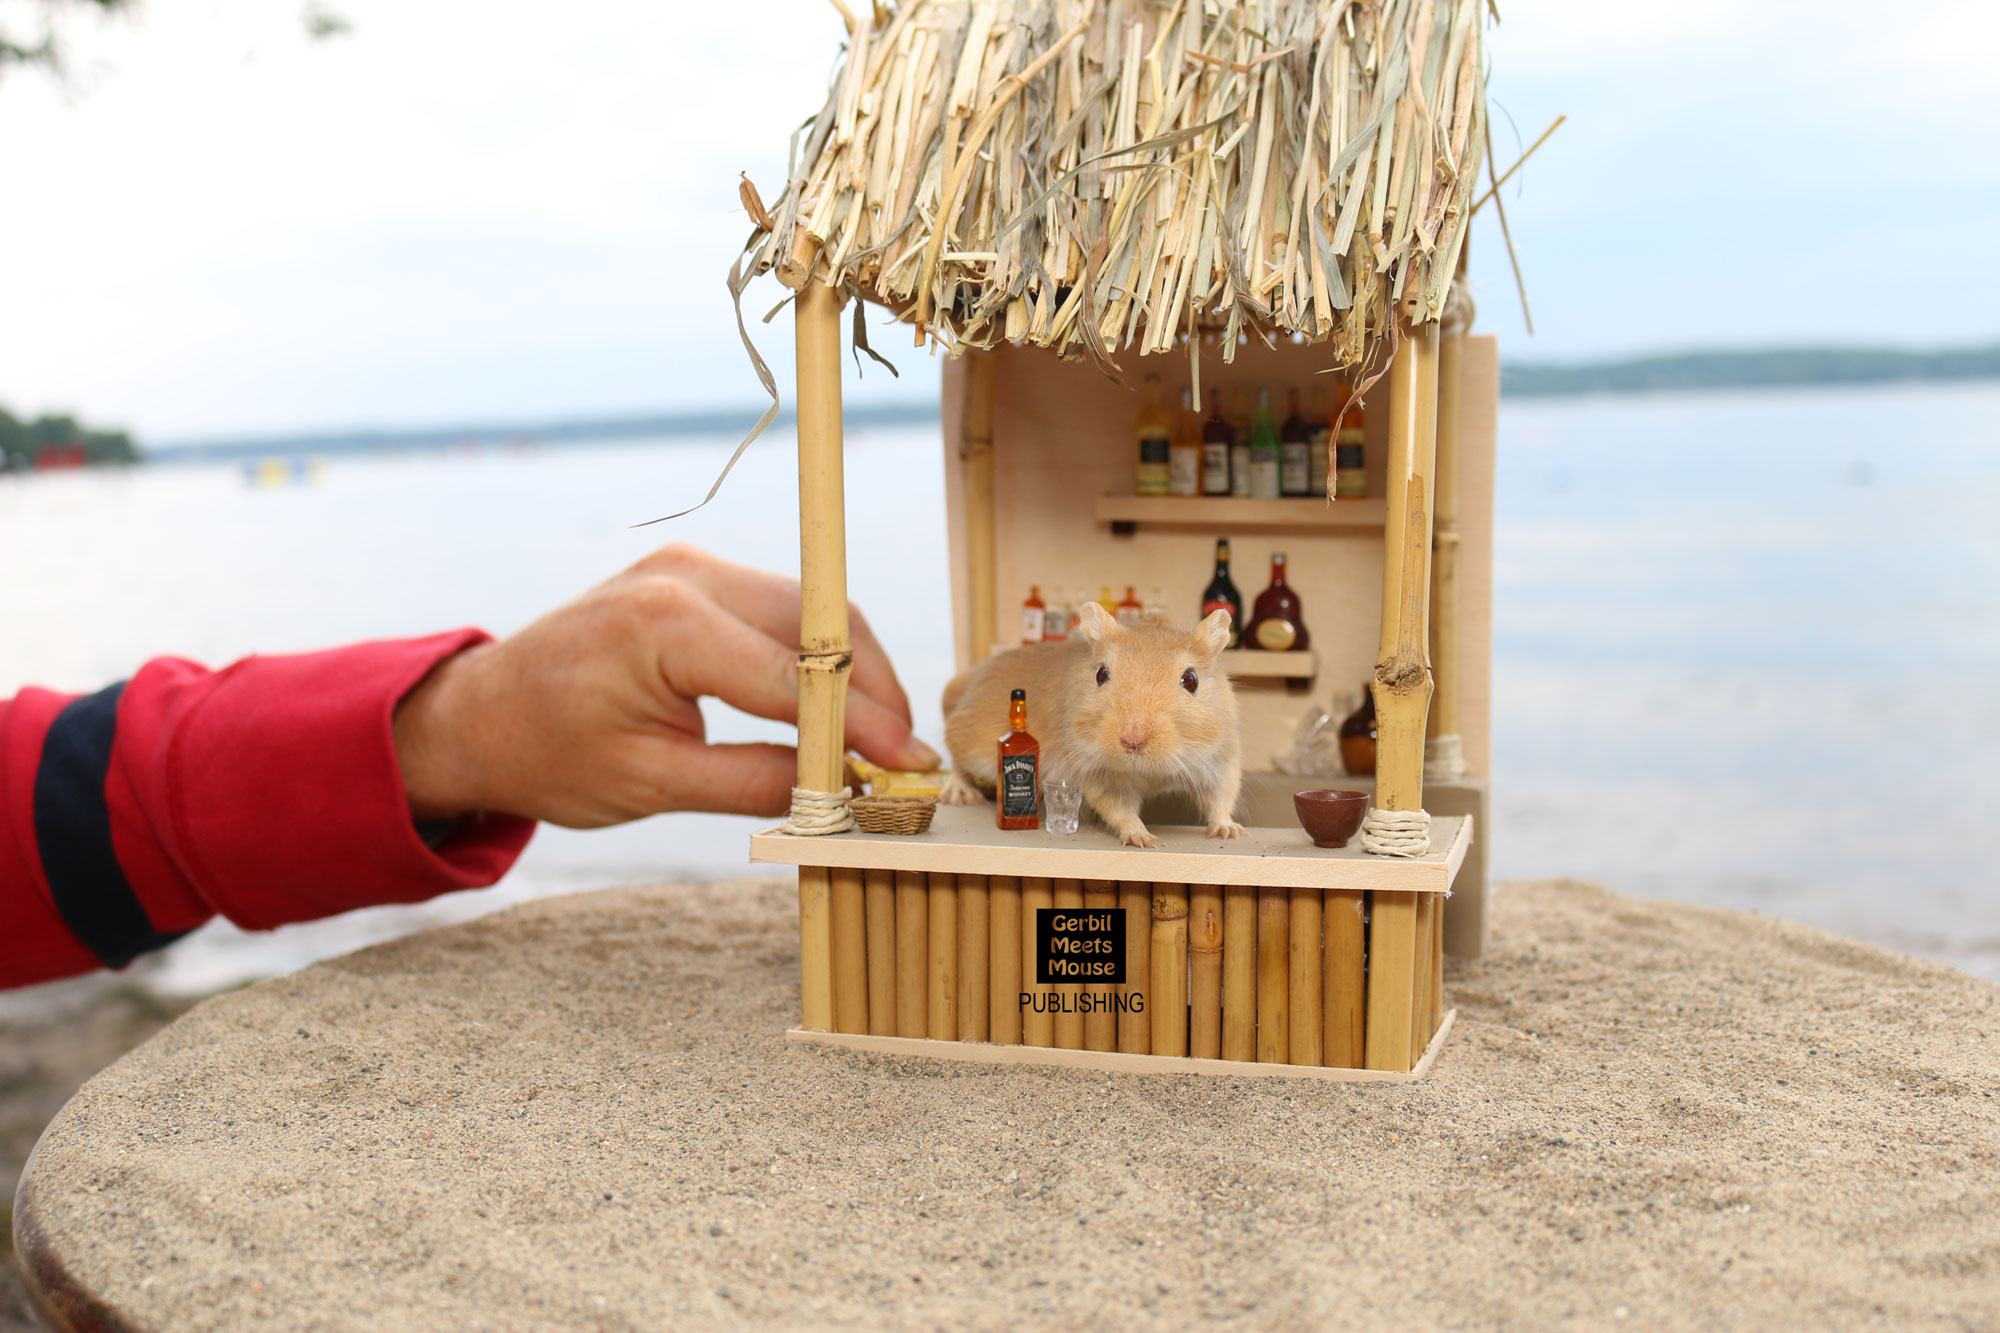
Like I said, the photoshoot lasted under 25 photos which was under 10 minutes so we were able to get in and out of there before anyone really took notice as to what we were doing. In the end, the photos were some of my favorites – ever!
And… Just because I knew you’d ask…
An Out-Take
Hope you enjoyed the process of how this photo came to be.