
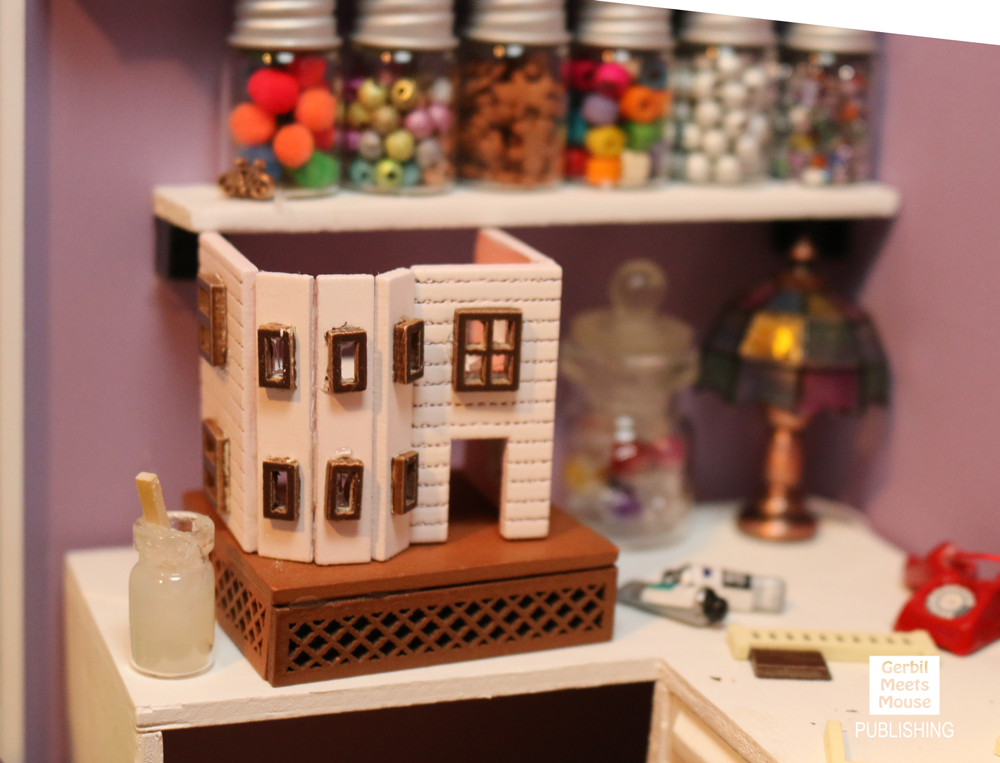
Petri is about to build a miniature dollhouse for his bedroom that looks exactly like the dollhouse that he lives in. How cool is that? We believe that this house is approximately 1/144 scale but it might be a bit off since it was never specified on the kit. It is, however, the perfect size to sit on Petri’s dresser for him to play with. And… how cool is it that he gets a miniature version of his miniature house?!
Note: This house was purchased as a pre-made kit. These kits are available for pre-order on our website. Note that the kits come in blue and pink, but we spray painted it to make it match Petri’s house.
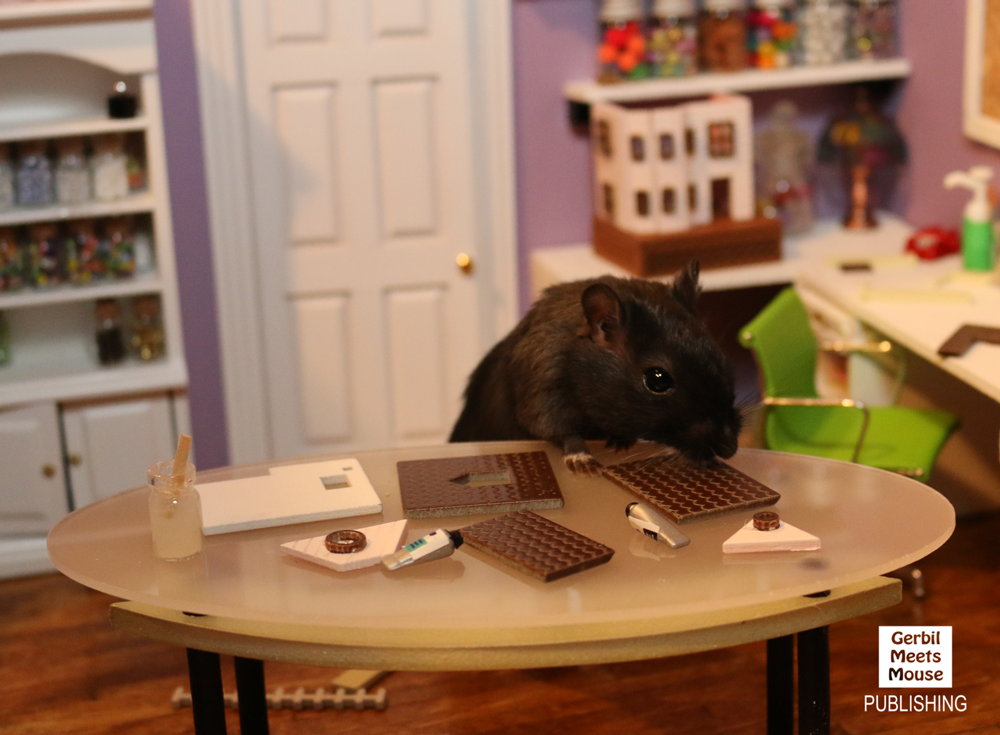
Step 1
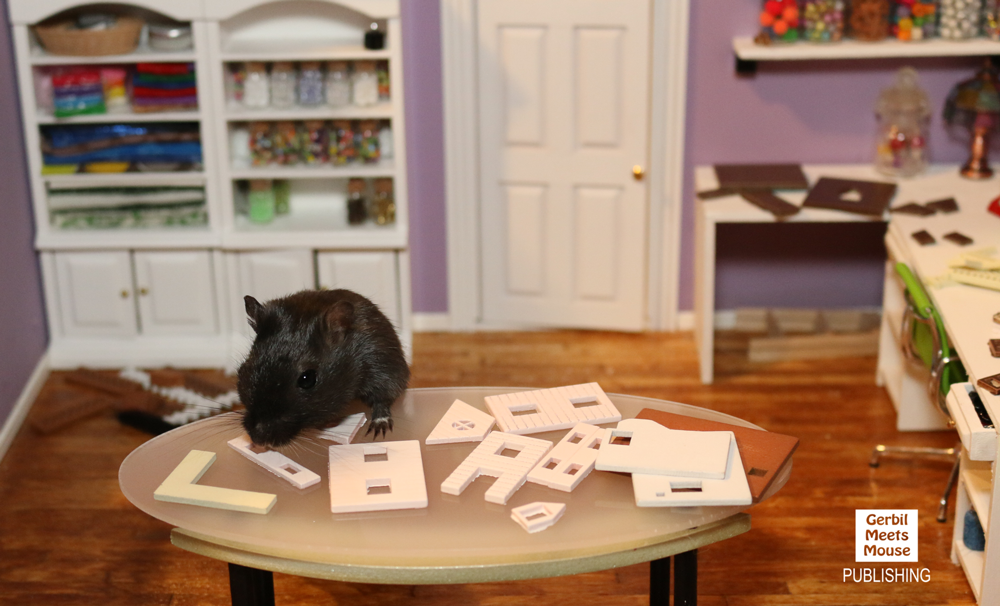
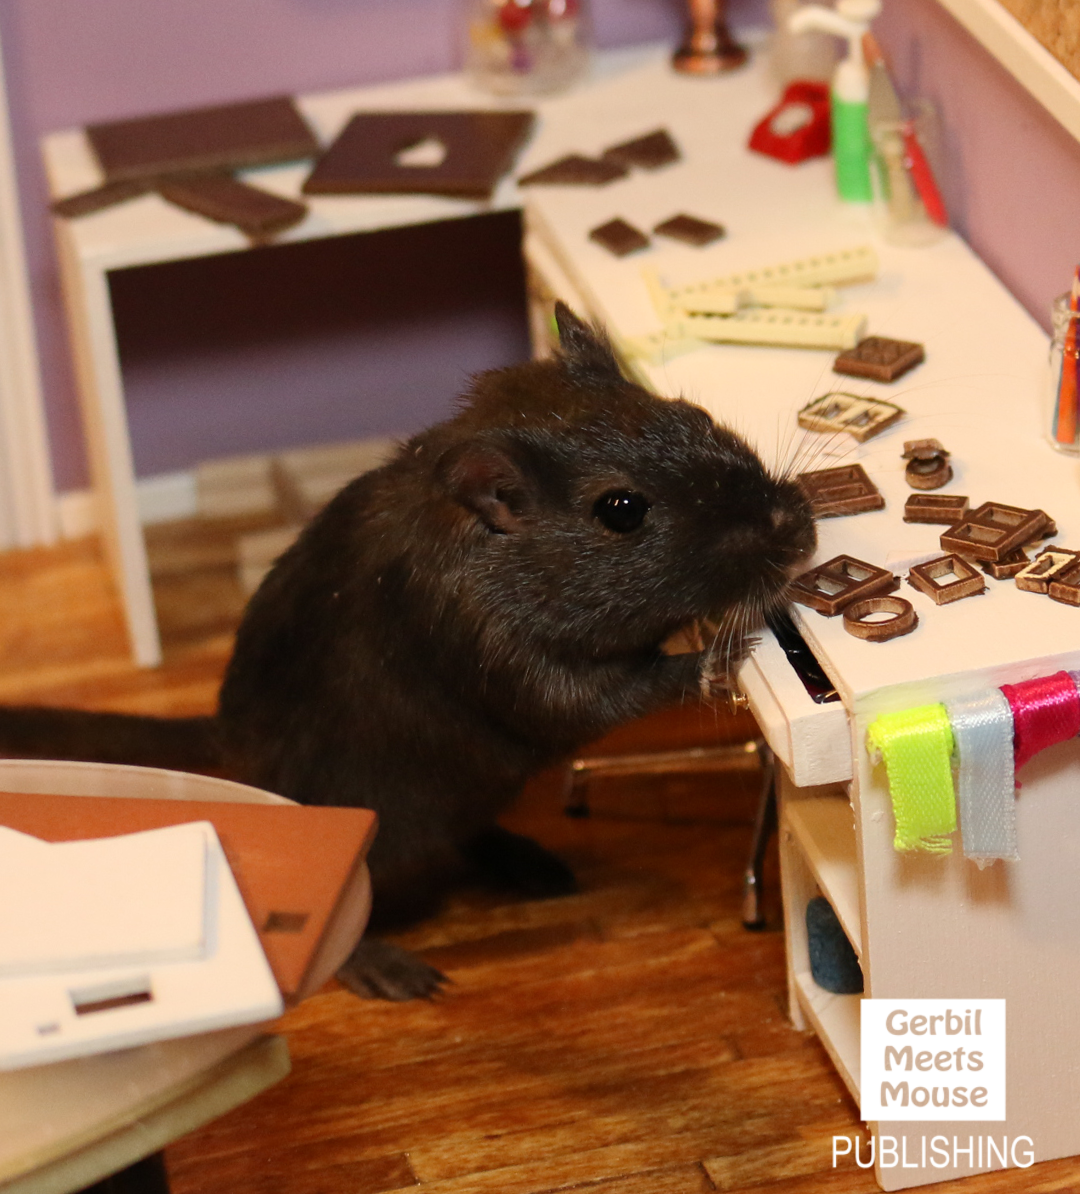
If you’ve chosen to spay paint your pieces like we did, technically that is your step one. Once that’s all finished, Petri reccomends spreading out your pieces to make sure that you have everything. It’ll be generally pretty easy to determine which pieces belong to the front of the house and flooring, and which pieces belong to the roof. We separated these so there was no confusion. We also made separate piles of the windows, base, fence and railing for outside of the house. All of the other items that came with the kit were removed and left aside.
Step 2
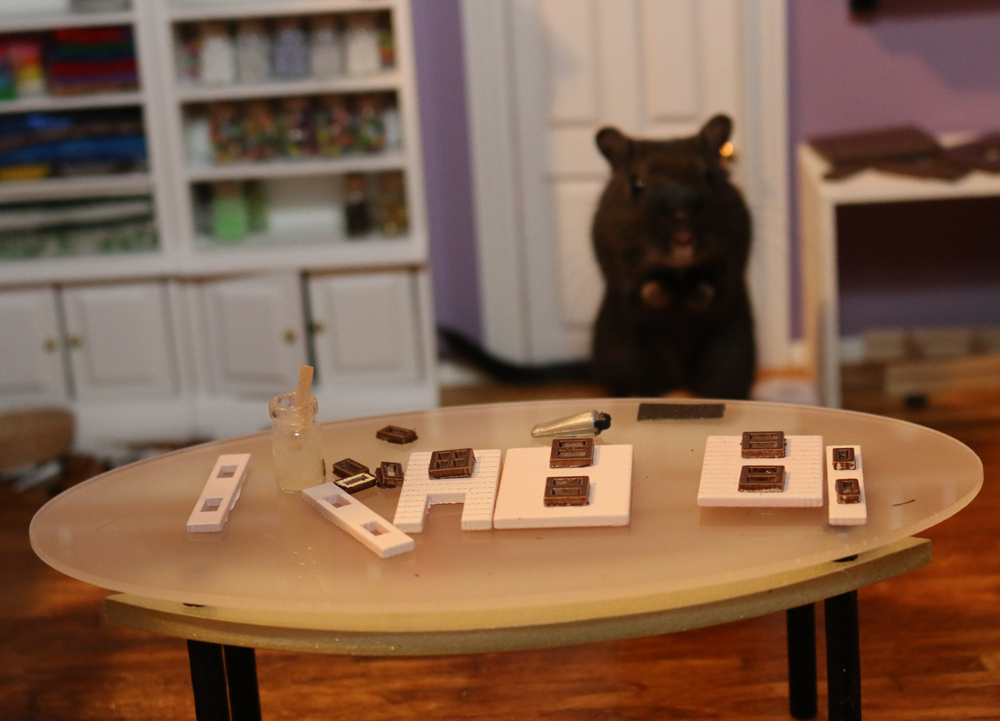
Once you’re ready to build your house, the first thing that you need to do is install the windows. If you painted them, like we did, you may need to sand the edges before you attach. If you didn’t paint, then you’re all ready to go. We used hot glue (simply because it made the process faster), but if you are worried about details, we recommend using a wood or white glue. The kit does not come with glue, so it’s up to you! Once you’re finished with the windows, set them off to the side and clear your work space for the next step!

Step 3
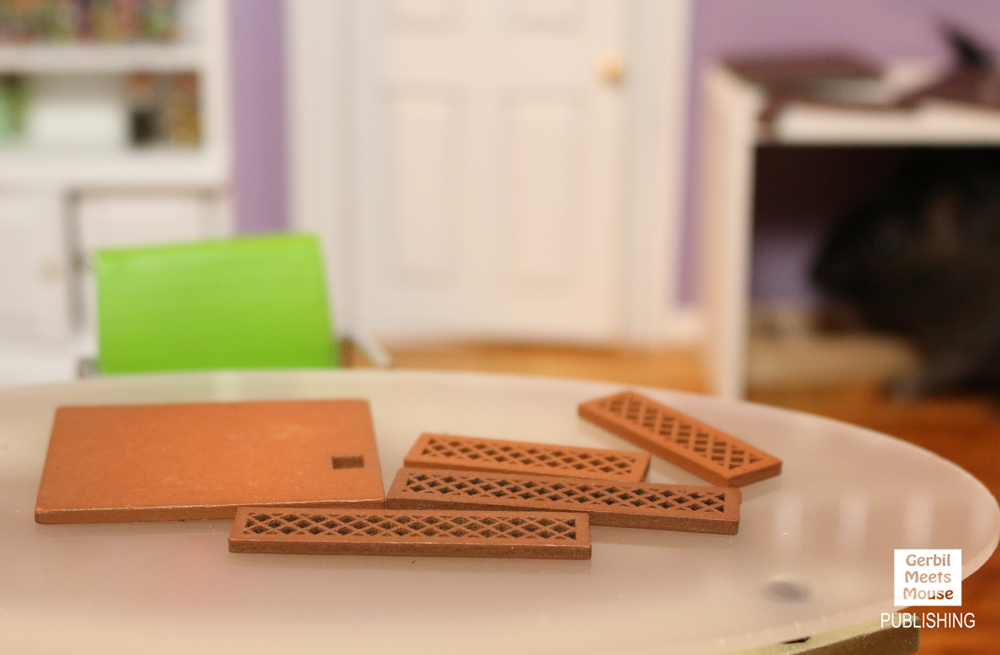
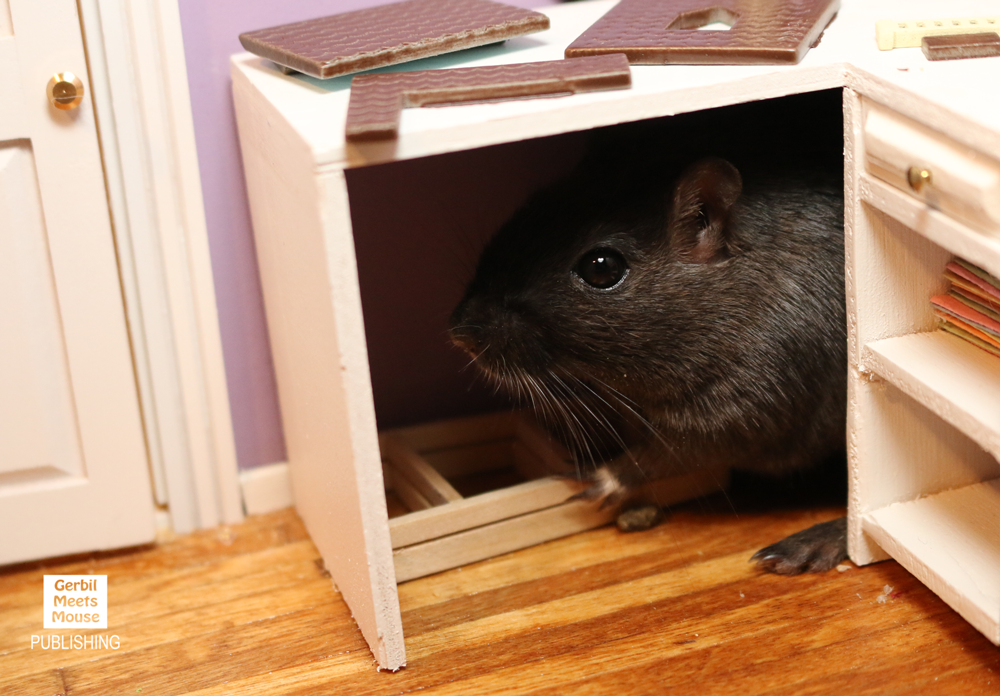
The next step is building the base of the house. You will want to install all four pieces of the bottom lattice onto the bottom so that the base sits flat. If you’re like Petri and find this step so boring that you’d rather go sleep under a desk, feel free to ask your parents to do this one!
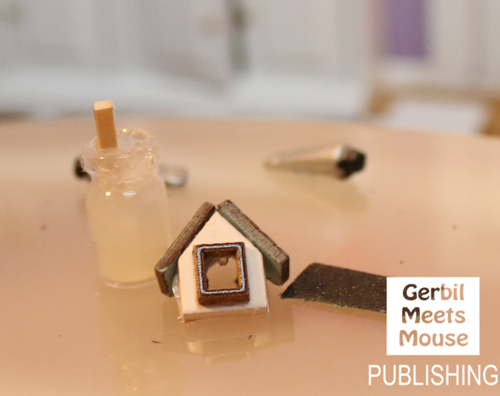
Step 4
Newly refreshed, Petri was all ready for this next step! For this one, you will not be attaching the walls to the base, but instead building the two pieces separately. You will want to use the second floor piece to help guide you towards making sure everything goes in the right place. It’s pretty easy once you get the hang of it!
Step 5
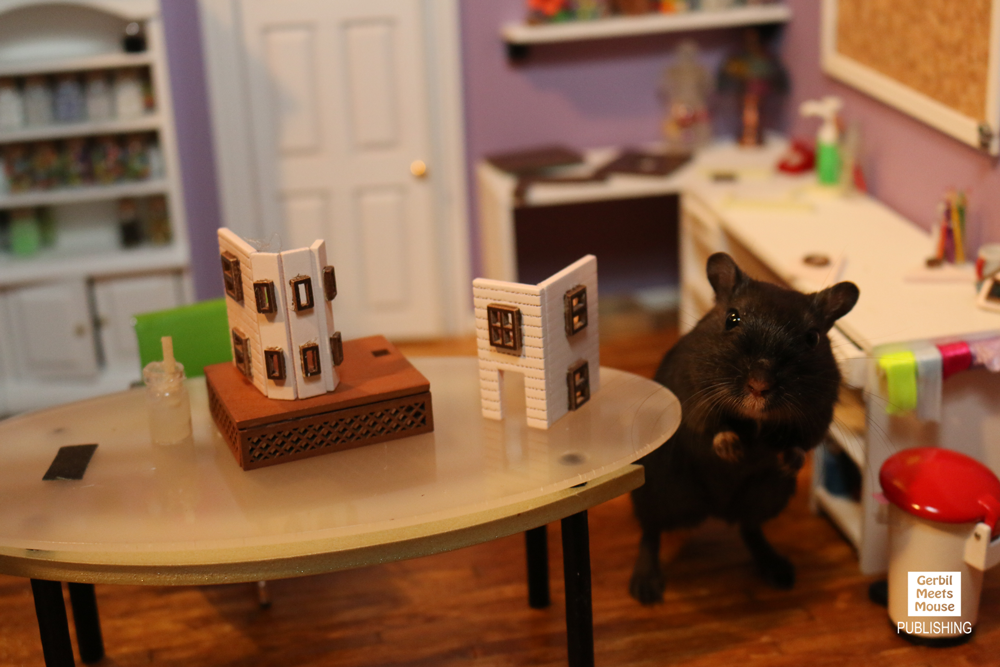
This is where things start getting real! Now you can attach the walls onto the base, and eventually attach all of the walls together. Don’t worry if you get glue everywhere, because you’ll be able to peel it off with tweezers. The important part is getting all of the pieces in place. Before gluing anything down, insert the second floor into place and glue the walls around it. Then you’ll be able to officially attach the walls to the base. Make sure that you cover the little hole in the floor!
Once this is done, set the finished piece aside.
Step 6
Next, you will want to set out all of the pieces of your roof, and the top attic floor of your house. (For those that spraypainted: Make sure that you spray painted BOTH sides of the brown tops!)
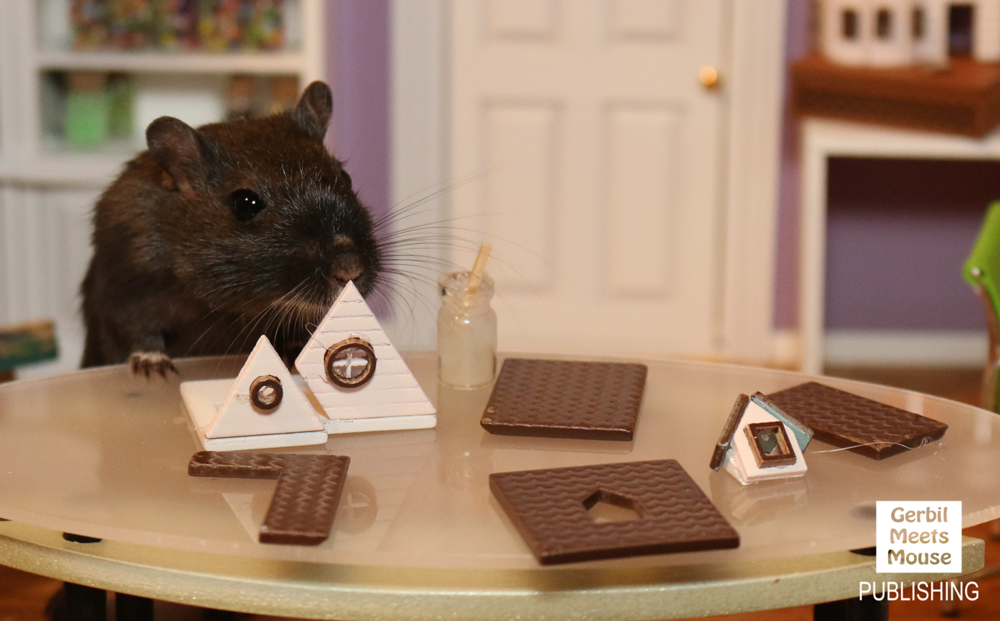
Getting everything together will be tricky at first, but eventually you will get the hang of it.
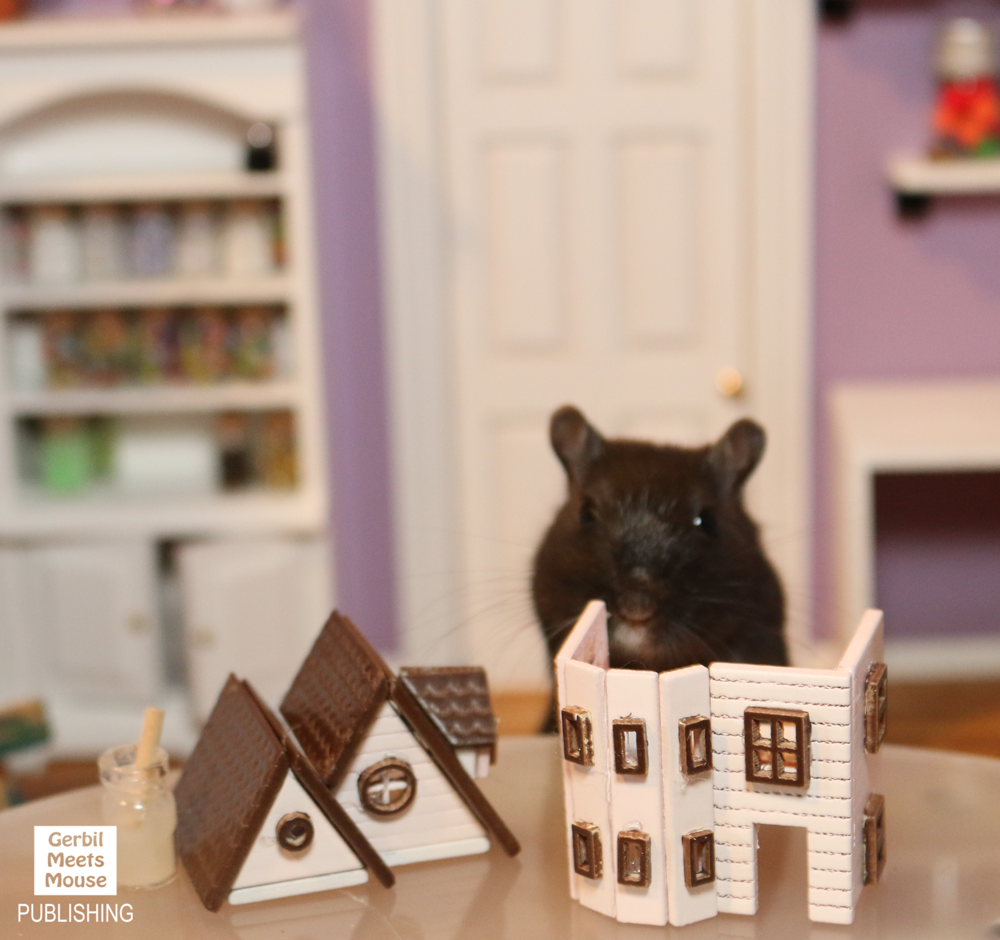
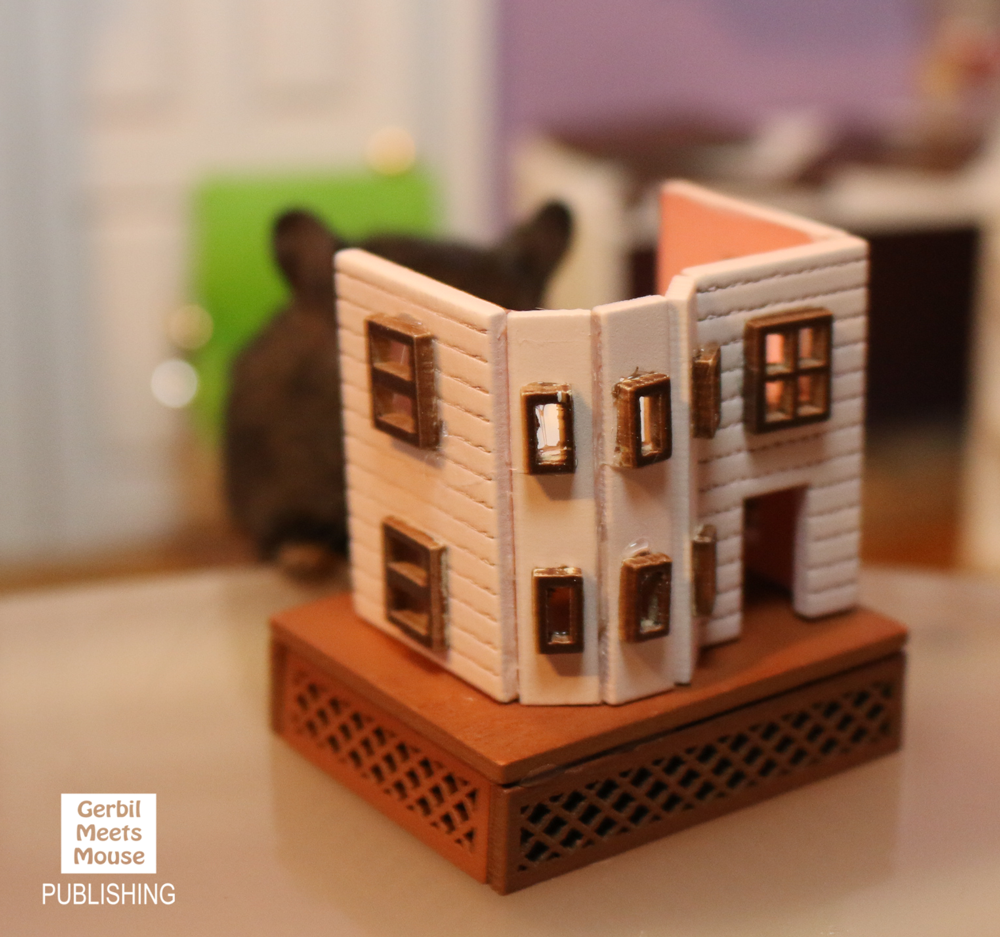
Once everything is all together, you will have two finished pieces. All that is left to do is attach the roof to the top of the house, and then attach the house to the bottom that you build.
The final step is touching it up; getting rid of all of the extra glue in the windows, and making sure everything is in place properly!
OPTIONAL: The kit comes with lots of other optional items. 1) You will have the option to add a railing around the house. 2) The kit comes with electrical to make your house light up on all floors! 3) There are plenty of pieces included to help you make interior furniture (we didn’t, but you can!) 4) There is grass and various plant items to help you decorate the outside of the house when it is finished.
The Big Miniature Dollhouse Reveal
Of course we couldn’t give it all away in one post! Stay tuned next week for Petri’s big reveal of the finished house!